
Personalised Silicone Molds: 7 Key Points
Personalised Silicone Molds: 7 Key Points to Know Before You Start
Personalised silicone molds and today’s technology is a game-changer when it comes to creating meaningful, high-quality gifts with a personal touch. Whether you’re interested in crafting custom key fobs, jewelry, Christmas ornaments, bookmarks, coasters, or picture frames—this flexible material opens the door to an endless range of creative possibilities.
But before diving in, it’s worth understanding the process, the materials, and the tools you’ll need to get reliable, repeatable results. This guide walks you through seven key points to consider before starting your journey with personalised silicone molds.
1. Understand the Possibilities With Personalised Silicone Molds
Silicone molds allow you to create detailed, durable, and fully custom pieces that reflect your style—or the recipient’s personality. Once you’ve created a mold, it can be reused hundreds of times, making it an economical and scalable way to produce handmade items.
Gift ideas include:
- Christmas ornaments
- Key fobs
- Bookmarks
- Jewelry
- Picture frames
- Coasters
- Keepsakes and custom trinkets
Whether for personal use, gifting, or small business production, silicone molding bridges the gap between DIY creativity and professional quality.
2. Personalised Silicone Molds Means Planning Comes First
Before you open your first silicone kit, a bit of structured planning will go a long way. and going over our other post, How to Use Liquid Silicone Rubber for Mold Making
- Sketch Your Design – A rough drawing helps you visualise the item and consider how it will be molded.
- Design It in CAD – Use digital tools to map out precise shapes. This also makes it easier to transition to 3D printing if needed.
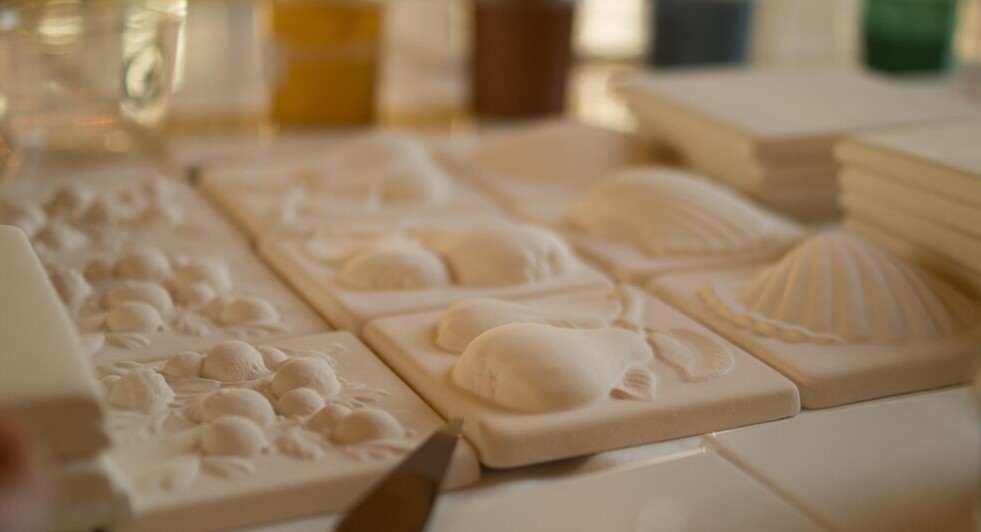
- Create Your Model – Models can be handmade or 3D printed depending on the detail level required.
- Model to Mold – Preparing your master model properly is critical. For more, check our post on model making and preparation.
- Test First – Before committing to a large mold or final piece, trial your silicone mix in a small, simple mold to avoid bigger setbacks later on.
3. Choosing the Right Silicone
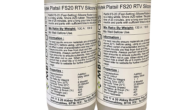
Not all silicone materials are created equal. Here are the key factors to keep in mind: And if you want more information follow this link to another of our posts on White Silicone Rubber For Mold Making here
- Curing time
- Flexibility or shore hardness
- Tear strength
- Compatibility with pigments or other additives
- Viscosity (affects how well it flows and releases air bubbles)
- Food and heat safety (if used for kitchen items or candles)
- Brush-on compatibility (some kits allow this or include additives to convert)
Always read the manufacturer’s instructions and reviews to ensure the silicone matches your project’s needs.
As an Amazon Associate, I earn from qualifying purchases.
This post contains affiliate links. If you buy through them, I may earn a commission at no extra cost to you.
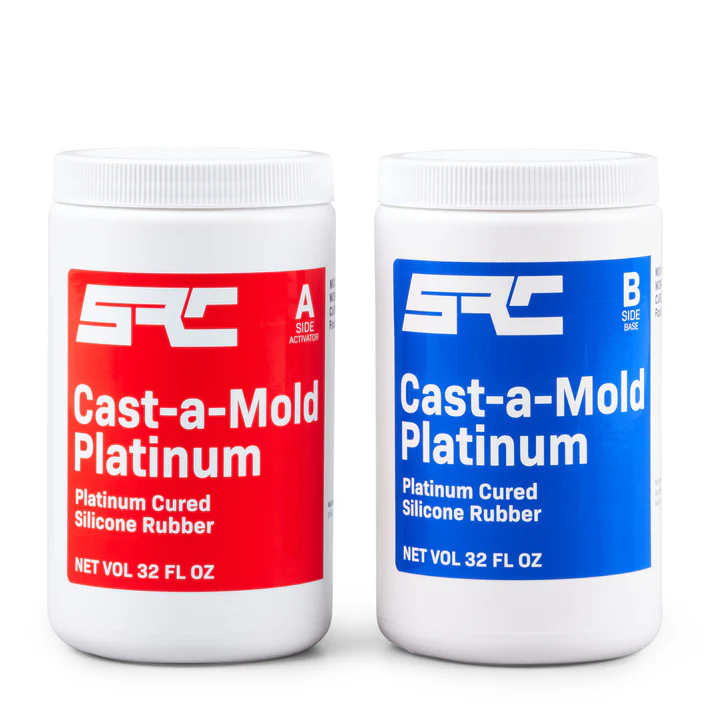
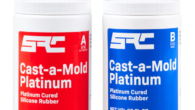
Where to Buy This Silicone
This 64oz Cast-a-Mold Platinum Silicone kit (2 × 32oz) is available from both Amazon and the official supplier, SRC (part of Polytek). Both are trusted sources, but there are a few important differences worth noting.
You can purchase it on Amazon for convenience, especially if you already shop there regularly or have Prime.
However, for specialty materials like this, Amazon orders are often fulfilled by third-party sellers (not directly from Amazon warehouses)—which means delivery times and storage conditions can vary slightly. It’s something to be aware of, especially with shelf-sensitive materials.
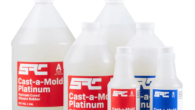
Alternatively, SRC is currently offering an 11% discount, bringing the kit to $64.07 at the time of writing. If you’re combining your order with other materials (like resins or additional silicone kits), you may also qualify for free shipping on orders over $200. They carry a wide range of materials like epoxy resins, casting rubbers, and mold-making tools.
| Vendor | Link | Best For |
|---|---|---|
| Amazon | Buy on Amazon | Trusted, fast shipping, Prime users |
| SRC / Polytek | Buy Direct from SRC | Lower price, larger kits, pro options |
Hope this helps you find the right fit—thanks for reading
Author’s Note:
I’ve previously ordered full 55-gallon kits directly from Polytek via ground shipping and always received fresh stock, packed well. For shelf-sensitive materials like platinum-cure silicone, I trust direct shipping from SRC more than third-party fulfillment—especially when working on larger or time-critical projects.
4. Essential Tools & Equipment
Having the right setup ensures better results and fewer surprises when it comes to personalised silicone molds. A basic but effective starter kit should include:
- Silicone Rubber Kit – Including base, curing agent, and optional pigments
- Digital Scales – Ensure accuracy for larger or multi-part mixes
- Mixing Tools – Mixing containers, stirrers, and ideally a mixing drill with a suitable paddle
- Finishing Tools – Spatulas, fine brushes, tweezers
- Mold Release Agent – Extends the life of your mold and makes demolding cleaner
- Sealing Caulk or Modelling Clay – Useful for sealing gaps or emergency leak control
- Protective Apron and Mat – Keeps your workspace clean and chemical-resistant
Tip: While vacuum chambers are ideal for removing bubbles, using the right silicone with a suitable viscosity—combined with careful mixing, slow pouring, and a few light taps—can help minimize air pockets without the added cost.
5. Prioritize Safety from Day One
Working with silicone, resins, and additives means safety should be a top priority—especially if you share your space with pets or children.
Basic precautions:
- Wear gloves when mixing or pouring
- Use safety glasses when working with powders or pigments
- Ensure good ventilation—some products release fumes
- Use only food-safe silicone if items will be in contact with food
- Never eat or drink in the work area
Workspace care:
- Keep your setup dry and dust-free
- Store all materials out of children’s reach
- Label all containers clearly
Cleanup & disposal:
- Cure unused silicone fully before discarding
- Clean tools with warm soapy water or silicone-safe cleaner
- Never pour liquid silicone down the drain
A safety checklist on your workspace wall can be a simple but effective reminder.
6. Go Beyond the Basics (Advanced Techniques)
Once you’re comfortable with the process, start exploring more advanced ideas.
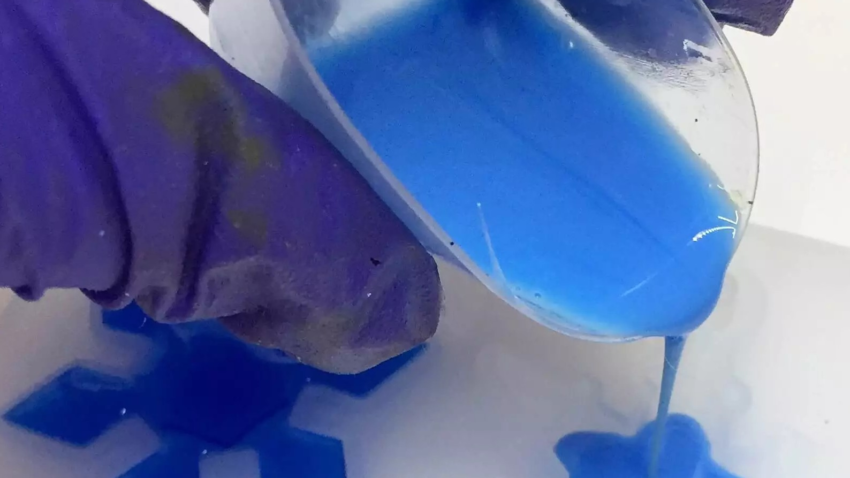
Colour and Layering:
- Add pigments directly to Part A for easier mixing
- Use contrasting colours in layered pours for visual depth
- Convert your silicone into a brush-on version with an additive
Texture and Embedding:
- Imprint with stencils, fabrics, or found objects before curing
- Embed beads, charms, or natural elements into transparent silicone
Mold Hacking:
- Combine parts of two or more molds to create a hybrid
- Trim and rework hardened molds into custom framing pieces
- Make a mold of your new creation to scale production or refine details
Keep notes on what works—and what doesn’t. That’s how you develop your own creative process and style.
7. When Making Personalised Silicone Molds Learn from Common Pitfalls
Challenge Quick Fix
Air bubbles: Tap the mold or use light vibration before curing
Sticky/uncured silicone: Mix thoroughly and follow ratios precisely
Sticking to the mold: Apply release agent evenly before pouring
Uneven colour distribution: Mix pigment fully into Part A before adding curing agent
Mold degradation: Clean gently and store in a dry, cool space between uses
Even experienced mold-makers run into issues now and then. Troubleshooting and adapting is all part of the process.
Frequently Asked Questions
Can I use kitchen utensils for mixing silicone?
Only if they’re permanently dedicated to your craft—never reuse for food.
Can silicone molds be reused?
Yes! With proper care, they can last through many uses—sometimes hundreds.
Is this craft suitable for kids?
Yes, but only with supervision. Use child-safe kits and avoid resins or strong additives.
How do I know if silicone is food-safe?
Look for FDA-compliant labeling and avoid industrial-use-only kits.
Final Thoughts
Personalised silicone molds offers an exciting, flexible, and surprisingly accessible way to create meaningful gifts or small product lines. With some early planning, the right tools, and a clear understanding of the materials, you can enjoy a safe and rewarding creative experience.
Whether you’re doing it for personal enjoyment, as a small business, or simply to try something new, knowing these key points before you start gives you a strong head start.
Contact Us
We hope you found this information on personalised silicone molds helpful! If you have any questions or need assistance, feel free to reach out. Please note that due to government regulations, you’ll need to sign in and confirm your message. We apologize for any inconvenience.
Author: Rob
Ps. This is the company that taught me how to build this site and 3 others in 6 months, they keep their promises.


Hi Rob,
I read your comprehensive guide on personalised silicone molds and I must say, it’s an excellent resource for anyone looking to get started with this craft. Your step-by-step approach, safety tips, and troubleshooting advice make the process much less daunting for beginners.
One point that particularly stood out to me was the importance of planning and preparation before diving in. Sketching designs, creating models, and testing small batches first can save a lot of frustration down the line. It’s a valuable reminder that even in creative pursuits, a structured approach yields better results.
I’m curious to hear your thoughts on the business potential of personalised silicone molds. You mentioned small product lines as a possibility, have you seen successful examples of this? What advice would you give to someone looking to turn this craft into a side hustle or full-time venture?
Also, I noticed you touched on using silicone molds for resin casting. As someone with limited experience in this area, I’d love to learn more about the specific challenges and considerations when combining these two materials. Perhaps this could be a topic for a future post?
Thanks again for sharing your expertise on this fascinating subject. I look forward to hearing your insights and possibly seeing more advanced tutorials in the future!
All the Best,
Eric
Hi Eric,
Thanks very much for your comments and I am happy to hear that you picked up the absolute need to prepare with this type of product.
It can get very messy if you don’t. If you check out the site a little more you will find plenty more posts to help with this craft.
As for more advanced tutorials, the intent is for how-to videos soon.
Rob