
Silicone Molds For Crafts

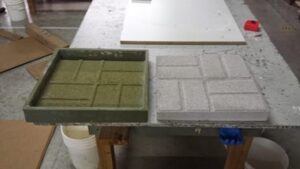
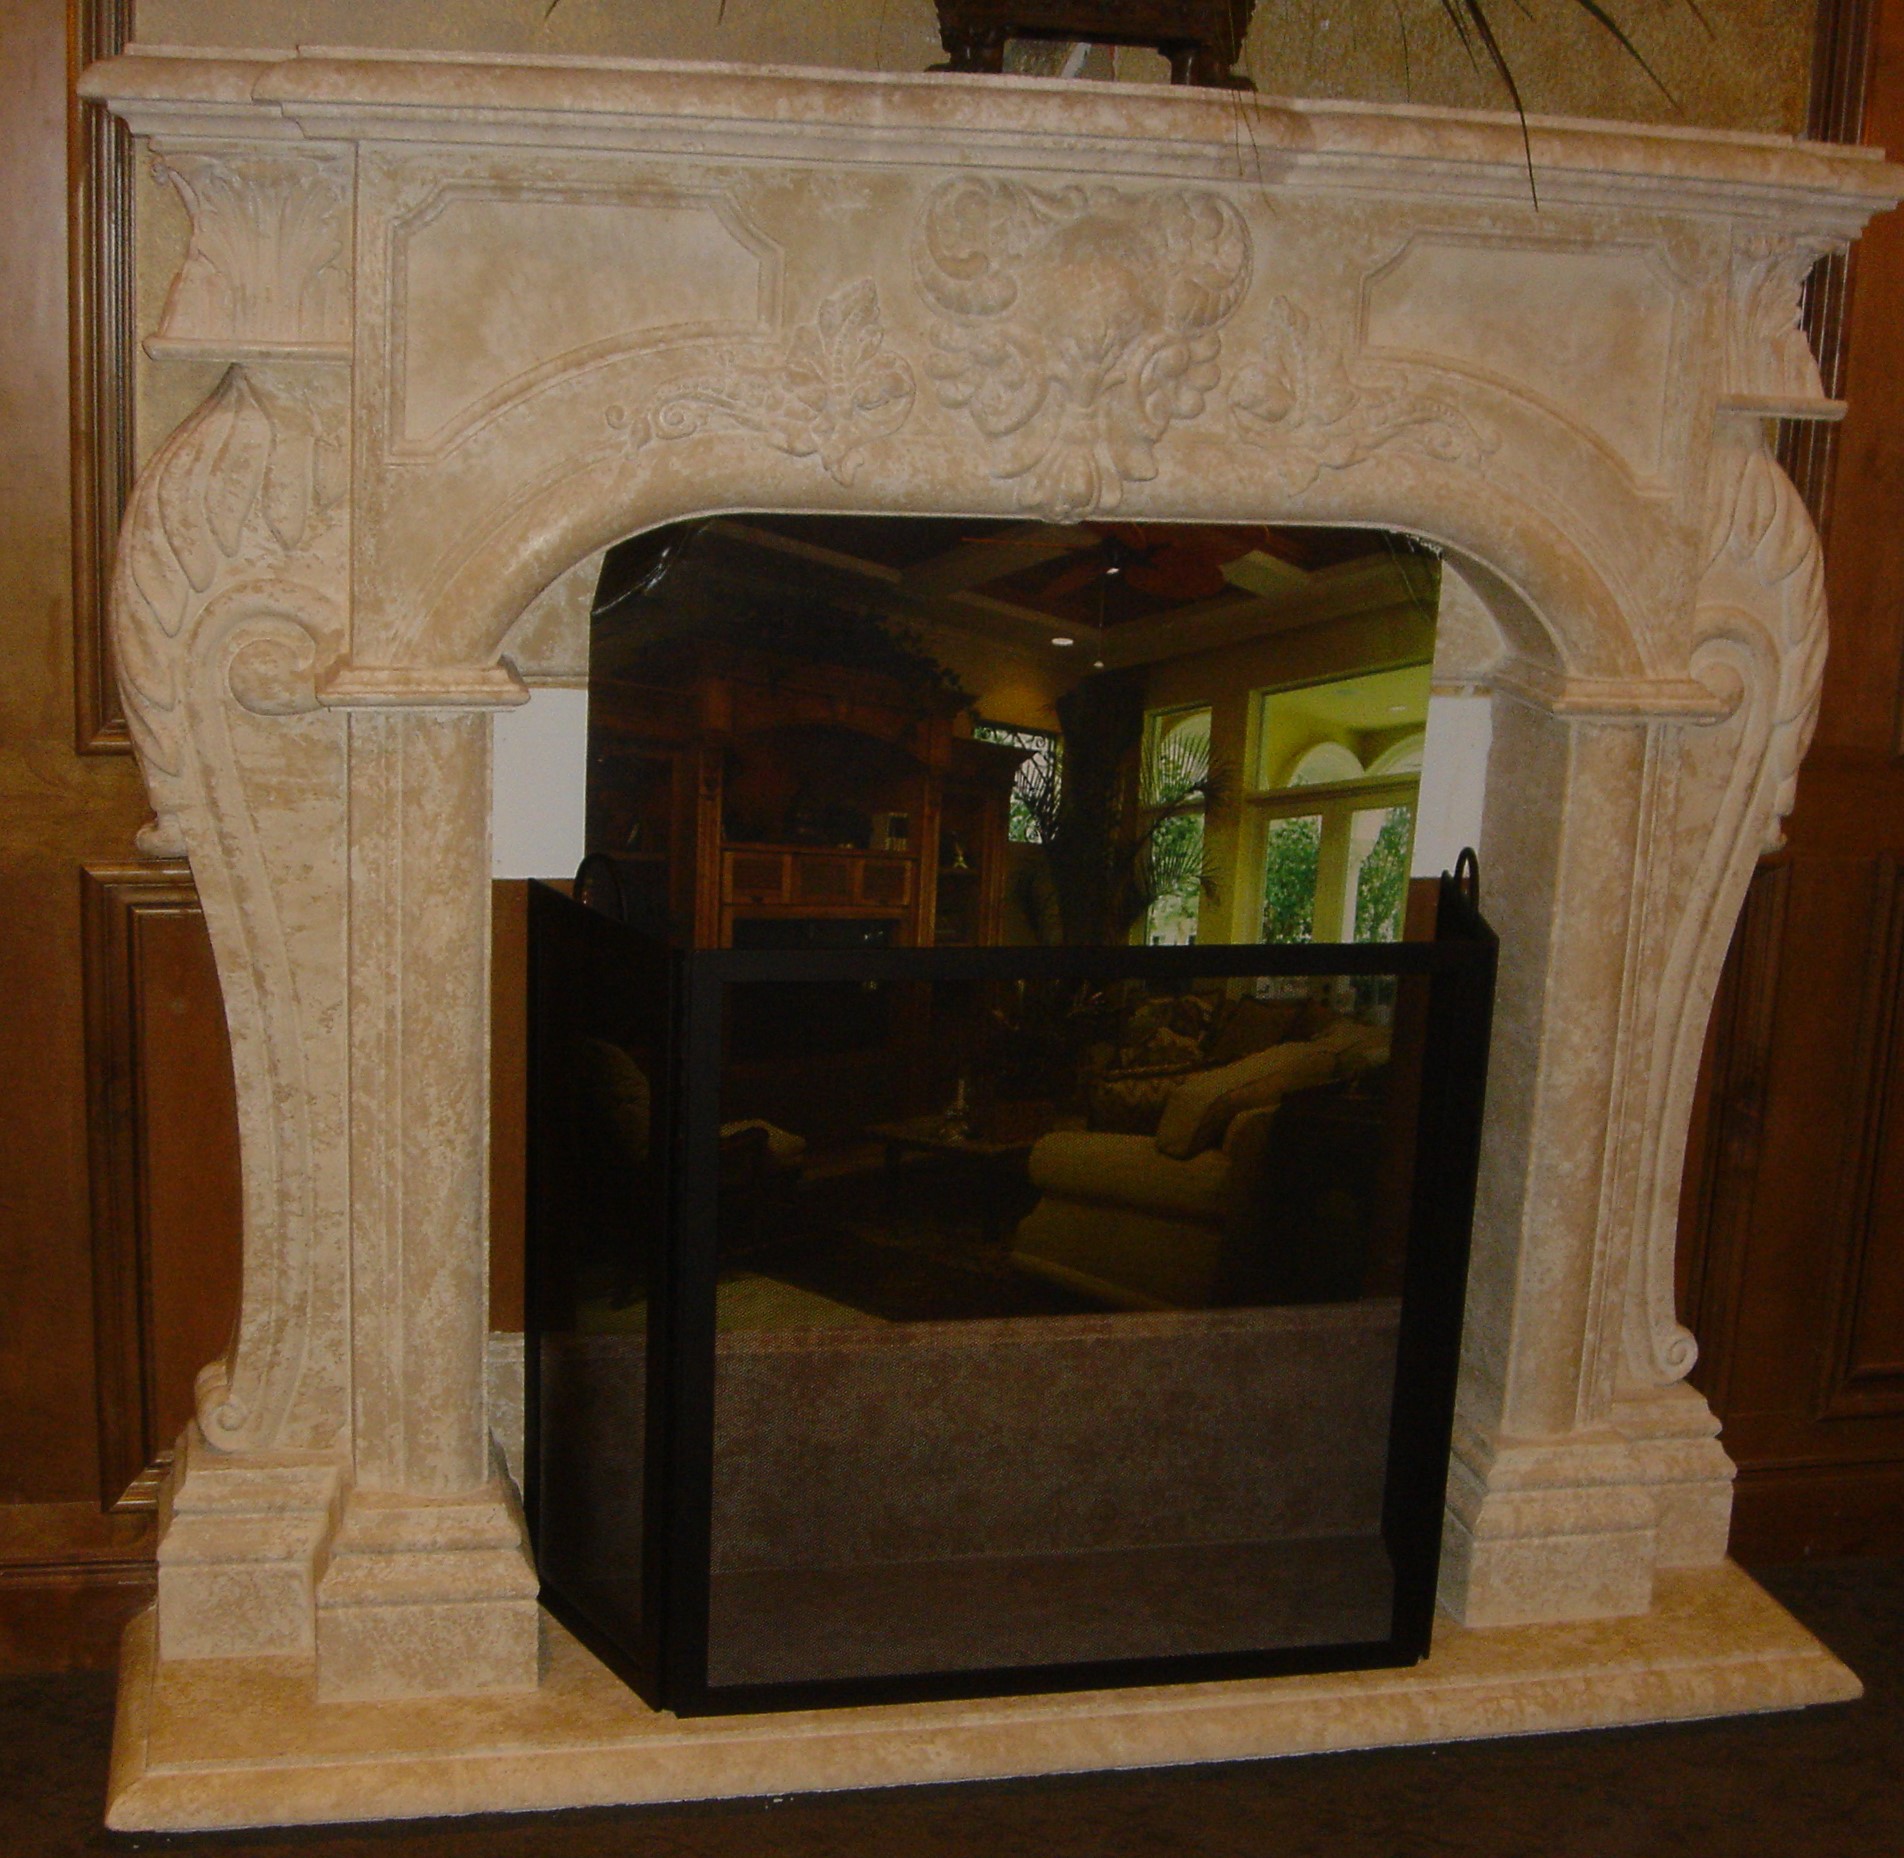
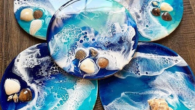
I’ve observed that silicone molds for crafts have an incredible range of applications. Whether I’m replicating the grandeur of cast stones or the delicacy of resin or plaster picture frames, the principles remain remarkably similar. Small or large, the process of translating a vision into a tactile object through a mold is captivating.
I/We promote transparency. This post or site may contain affiliate links. This means only if you make a purchase through these links, not just by clicking, I/we may earn a small commission at no extra cost to you.
As an Amazon Associate, I earn from qualifying purchases
Silicone Molds For Crafts & Your Silicone Mold Design.
The first step in making of any of the different items in the resin world comes down to crafting miniature models for jewellery, soaps, key fobs, paperweights, chocolate bars and candles among others, or larger pieces like picture frames, or table tops.
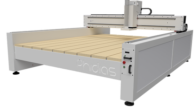
This is where the vision and adaptability is key when shifting from robust and larger objects of the cast stone world. I think I would need to start with a good picture or CAD drawing of my piece or just work from the imagination of my mind. And now we have the opportunity to use 3D printers for this task if we have the nohow to draw it in the software.
In the past I have also found broken pieces of products in stores and built my models up from them. Cutting, modelling or carving additional details. Good prototypes are the foundation of any excellent mold. So it’s best to keep working at it until you are really happy with your original handmade or 3D-printed piece.
With Silicone Molds For Crafts Making Your Model Is Pivitol
The material choice for your model plays a pivotal role. Whether you’ve opted for wood, plaster, or molding clay, each medium holds the potential for crafting precise and detailed prototypes necessary for quality molds. The medium you choose can directly correlate with the depth of detail you need to capture. So select wisely based on the intricacies of your intended design.
Employing a steady hand and a careful eye can transform a block of wood or lump of clay into an exquisite model. This level of detail doesn’t just happen. It’s the result of practice, time and precision, something to strive for when crafting any piece. A good set of wood or clay model carving tools would be really handy here, or a rotary tool like a Dremel.
Repairs
Prototypes are more than just a blueprint; they’re a test of your imagination and concept. As you work through making each model, you’re also refining your technique, identifying potential issues, and ensuring your final product will be as intended. Most materials, at this stage, can be repaired with various options, but it can set you back, especially if time is a constraint.
When comparing cast stone to resin jewellery, the size and intricacy of the items do stand out. Essentially, smaller crafts demand greater precision. Dealing with minute details requires a steadier hand and an eye for the delicate intricacies that define the craftsmanship of many tiny pieces.
Food Grade Silicone Molds.
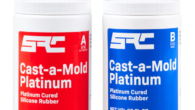
Variety doesn’t end with size and detail. Different tasks call for different types of silicone. Creating food-related items such as chocolate molds necessitates using food-safe silicone, which is necessary to adhere to stringent health standards. This distinction is crucial for both safety and quality.
Once you are completely happy with your model, and if your finished pieces require a high gloss finish. Then we recommend spraying your model with a gloss spray paint finish or something similar. This is not your final treatment of your model, but it is very close.
Now it’s time to choose the type of silicone you need for your project, all silicones do not normally need release agents when making your production pieces, but a fine spray of silicone never hurts just before you pour your piece. But they will be at the modelling stage before you cast your mold.
Next, you must look at your model and think (3-D too) about the way it’s going to be best to pour your final resin or other material into the finished mold, this is very important to consider before you pour your silicone mold, try to incorporate your pouring access in the least conspicuous place on the finished piece, or where you could easily sand and buff out any blemish.
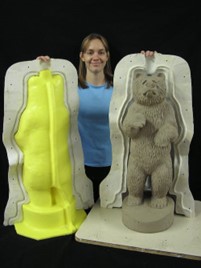
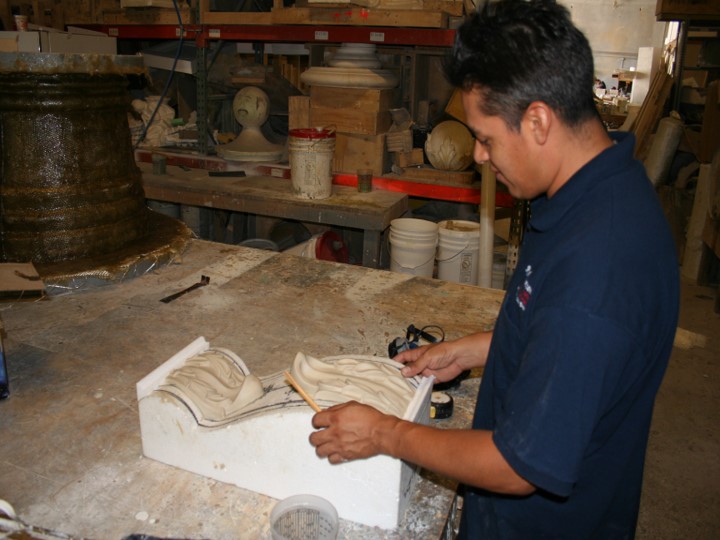
Make An Outer Shell To Hold Your Silicone Mold In Place.
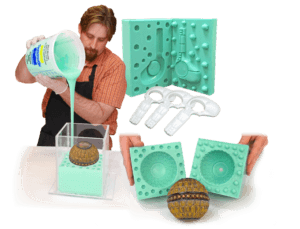
In silicone molds for crafts, you need to make an out shell for your model, to hold the silicone in place while it sets. Some very complicated pieces need to be made in 2 or more pieces, so study up on that possibility. Some examples of that are shown in the photo, the bumps and recesses on the pieces are to locate the pieces together correctly.
You may need to select a softer high-tear silicone for your pieces. Another consideration is to think about where air could become trapped as you cast your mold and maybe even your final piece. I have had to allow for air vents on many silicone-poured molds, small drinking straws can be helpful here and with the final production piece.
Sealing Your Silicone Molds.
Remember your outer shell mold must be very well sealed at all points below the level of your silicone pour, otherwise, silicone will find it’s way the same as water and cause you many new challenges with cleaning, waste of or shortage of material or an incomplete mold causing you to start over. The last consideration is how you position your model in its outer shell. Does the final piece require all sides to be finished and visible? If so preparing your model to be suspended in its shell mold may be necessary, I have used fine fishing line for this task, but you can research other ways.
Try and envisage crafted ceramic pieces you may have seen and how the bottom, the unseen part is not finished the same or is covered with a different material or label. This is to camouflage the place where the piece was poured.
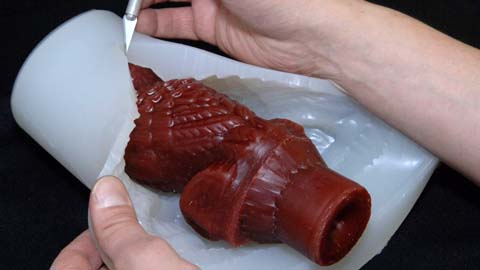
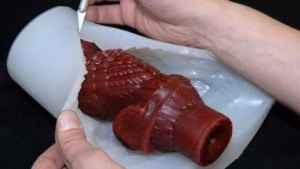
Follow the instructions for your chosen silicone, a quick spray of your model with a suitable silicone spray or other mold release agent, mix and pour, allow to set and carefully demold your piece, most small pieces may require an incision with a very sharp knife to help you free you model from its silicone shell. Save your model if possible, if not I would suggest that the first piece you make is with plaster or something similar, so you have a model to save, in case you need a new or 2nd mold of the same piece down the road.
Home Crafting.
Another aspect central to the versatility of silicone molds is the convenience they offer. I’ve found that many crafters appreciate being able to engage in their passion from the comfort of their homes. Setting up a craft station right on the kitchen table is certainly within reach, for both mold-making and resin creations in the small to medium-sized categories with the minimum of health and safety considerations.
This accessibility opens the door to experimentation within the confines of the home. It’s the ability to practice pouring resins, attempting different patterns like marbling, or adding splashes of color to the resin that transforms a simple mold into a masterpiece. The kitchen, surprisingly, becomes a studio where crafters can refine their art. Hot waxes and soap mixes may not be as suitable in a kitchen environment.
Perfect Resin Casts in Your Silicone Molds
Making silicone molds for crafts and taking on resin casting can be a rewarding endeavour, whether you’re making jewellery, soaps, or candles the key to success lies in mastering the silicone mold-making techniques that enable you to produce flawless, visually appealing pieces. Much of this comes down to practice. The more you pour resins, the better your outcomes will be. Soaps, candles and some other mediums do not always require the same quality of finish on the model of the silicone mold.
Moving on, its now time to select the correct resins, colours and tools, containers, mixing sticks needed to create the perfect mix. Make sure you have a set of postal scales handy for weighing materials if that is what your chosen product calls for, “weight, not volume”
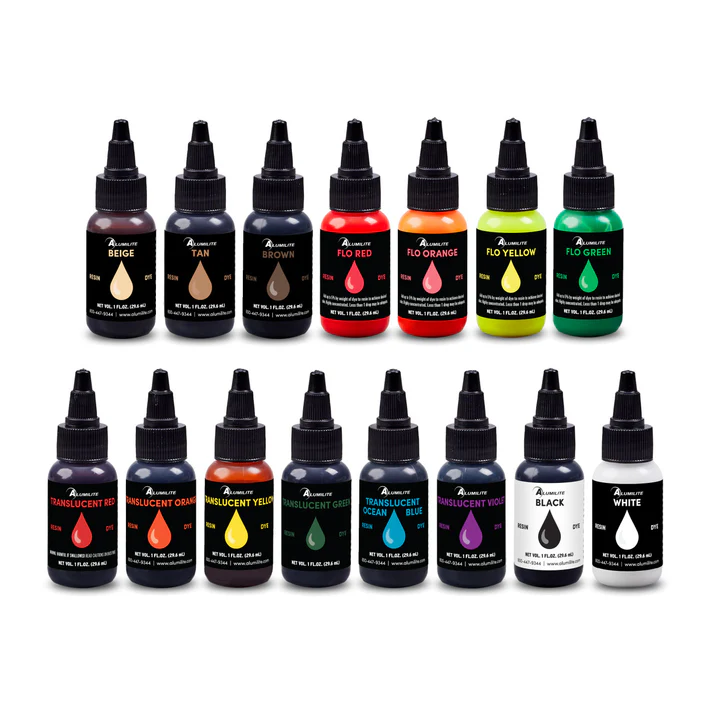
Coloring Your Resins.
Achieving effects like marbling or adding colors to resins injects uniqueness into every piece you create. To get this right, you need to not only mix your Promise Resin thoroughly but also understand how different colors interact with each other. Use minimal amounts at first to avoid overpowering your design, and slowly build up to the desired effect. Patience is paramount as you learn the intricate dance of swirling hues to achieve that perfect marble look or with other additives, a metal illusion.
Mixing.
Now, let’s talk about mixing, especially when dealing with small quantities. Precision is important not just for the mix but to avoid waste as well. You’re called to be meticulous right from the measurement stage, ensuring that you follow the manufacturer’s ratios to the letter.
This isn’t a time for guesswork; weighing and using the exact quantities recommended can make or break the quality of your resin. Additionally, mix slowly, even with a drill & mini paddle, to reduce air bubbles, which can compromise the clarity and strength of your final product.
Some products call for degassing, avoid this if you can or study how you can do that, a small vacuum may be adaptable for this task. The worst I have seen this effect is when using old product that has been left on the shelf with big amounts of air inside, just like wine, it goes off. Please don’t forget your mold release on your model.
It should noted that most resin pieces and be buffed and polished to remove minor imperfections or to create a higher gloss finish with the right tools and materials. So it might be worth investing in a bench-top buffer/grinder.
Safety Comes First.
Before you even begin, always remember: working with resins requires attention to safety.
Make sure you’re in a well-ventilated area and equipped with gloves and eye protection. Read all instructions and safety data sheets before starting. Resins can be unforgiving, so treat them with respect and always read and adhere to safety guidelines.
Remember, whether you’re mixing your Promise resins or carving details. Consistency and attention to the minor points will yield the most impressive results.
Embrace the learning process, and with each intricate miniature model, you’ll see your skills flourish. Making silicone molds is crafting. An art—your art—and every unique creation is a testament to your dedication and skill.
One of my old methods to check on prices for my cast stone, was by the cubic inch. Here you could be talking cubic millimetres so a small amount of raw products might go a very long way. And using this method to give yourself a rough guide good be very helpful.
Materials And Tool List.
- Food Grade Silicone Rubber, Cast A Mold Platinum 10 Gallon Kit.
- Food Grade Silicone Rubber, Cast-A-Mold Platinum 2gallon kit *
- Food Grade Silicone Rubber, Cast A Mold Platinum 1 Gallon Kit
- Food Grade Silicone Rubber, Cast A Mold Platinum 64oz Kit *
- Food Grade Silicone Rubber, Cast A Mold Platinum 32oz Kit*
- Epox-It Deep Pour Casting Resin, 16oz Kit
- Epox-It Deep Pour Casting Resin, 32oz Kit
- Epox-It Deep Pour Casting Resin, 1 Gal Kit = 8.6Lbs
- Epox-It Deep Pour Casting Resin 2 Gal kit = 17.2Lbs
- Epox-It Deep Pour Casting Resin 10 Gal Kit = 86Lbs
- Release Agent. Pol-Ease 2500 for Silicones.
- Generic silicone release Agent for Silicones.
- Color pigments. 24 X 10g Jars of Powdered Pigments.
- Metallic Color Pigments. 7 x 20ml.
- Mold and cast sealing caulk. DAP Acrylic Sealing Caulk
- Mixing pots 50 x 32oz Flexible Scaled Mixing Pots.
- Mold Release Wax, 14oz Mold release Wax.
- Mini-Mixing Paddles. 3 x 1/4″ Hex Drive Bi-Directional Paddles.
- Electronic Scales. .35oz to 440Lbs
- Modelling Clay. 2Lb pack Oil Based
- Casting Plaster. Large 50Lb Bag
- Casting Plaster. Medium. 25Lb bag
- Casting Plaster. Small 10Lb Bag
- Small Carving Tools. 12pc Clay Carving Set
- Wood Carving. 12pc Set With Nylon Mallet.
- Rotary Tool Kit. 149pc Goxawee Rotary Tool.
- Disposable Gloves. !00 Large Blue Nitrile Disposable Gloves.
- 3-D Printer. Small
- 3-D Printer Medium
leave me a comment or have questions.
I hope you find the information useful, but if you have any questions or need help, send me a message. You do have to sign in and confirm these days to comply with government rules.
Happy modelling and casting.
Author Rob


I found this article incredibly detailed and helpful! Your tips on choosing the right materials and perfecting the prototypes really resonate with my own experiences in crafting. I appreciate the emphasis on patience and precision, especially when dealing with smaller, intricate items.
Your advice on creating an outer shell mold and ensuring it’s well-sealed is something I hadn’t considered in such detail before. I’m particularly interested in trying out some resin jewelry projects. Do you have any recommendations for the best type of silicone to use for intricate jewelry molds?
Hi Don, Most silicones with a softer sure rating with pick up the dealing of small intricate pieces, both a Tin-cure & Platinum cure have slightly different properties and prices. they do vary from manufacturer to manufacturer. Smooth -On has a relative new product called Mold Star™ These silicones feature relatively low viscosities making vacuum degassing optional and not required for most applications. A uniform flow will help far more to minimize entrapped air.