
How To Mix Resins For Perfect Mold Casting
Resin Crafting Basics: A Comprehensive Guide to Models and Mold Casting
Resin is one of the most versatile and exciting materials for crafters. Its ability to capture fine details, incorporate vibrant colors, and form durable creations makes it an essential tool for artisans of all levels. Think of resin as a two-part system: mixing resin with a hardener triggers a chemical reaction that transforms the liquid into a solid. This adaptability has made resin a favorite in crafts, whether for casting intricate models, creating custom jewelry, or designing artistic home décor.
Table of contents
As an Amazon Associate, I earn from qualifying purchases.
This post contains affiliate links. If you make a purchase through these links, I may earn a commission at no extra cost to you.

Types of Resin: Choosing the Right One for Your Project
Not all resins are created equal. Understanding the differences between resin types ensures you pick the right material for your specific needs.
1. Epoxy Resin
Known for its crystal-clear finish and strong adhesive properties, epoxy resin is ideal for jewelry, tabletops, and artistic projects. It cures to a glass-like appearance, making it perfect for embedding items like flowers, glitter, or pigments.
Also crystal clear but is used pours up to 2″ (50mm)
- Strengths: UV-resistant, minimal shrinkage, and excellent for intricate designs.
- Best For: Jewelry, resin art, and decorative pieces.
Example: A crafter might use epoxy resin to create a vibrant, layered pendant by embedding dried flowers and mica powders, resulting in a one-of-a-kind jewelry piece.
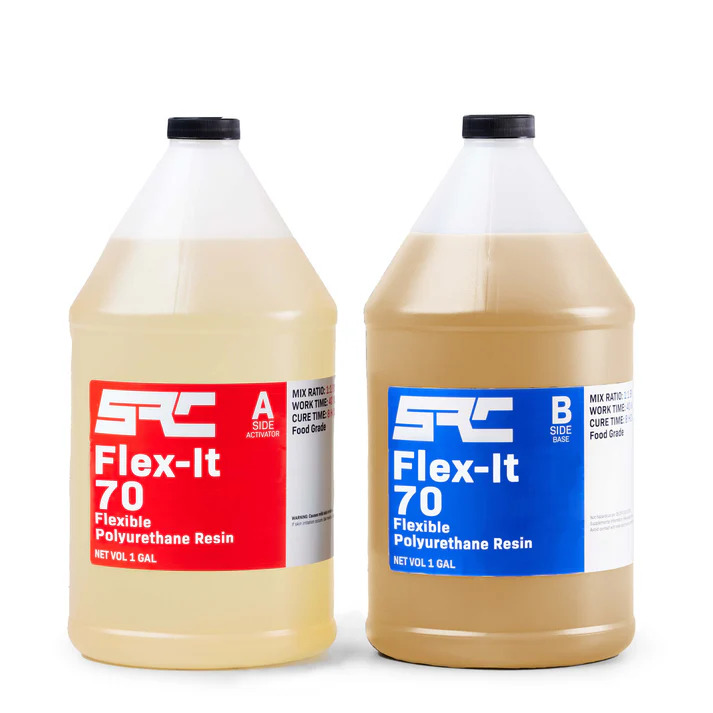
2. Polyurethane Resin
This resin offers exceptional versatility. It cures quickly, is flexible when thin, and is ideal for casting models or figurines that might require some give.
- Strengths: Faster curing time, flexibility, and excellent detail capture.
- Best For: Prototyping, model making, and figurines.
Example: A hobbyist could use polyurethane resin to produce a series of tabletop gaming figurines, leveraging its quick curing time for multiple casts in a single session.
2a. Polyurethane Foam
This version of polyurethane is used for making pieces in closed-frame molds where it sets quickly under pressure with a smooth hard outer surface.
Example: Available in aerosol cans at DIY stores, which can be used with some success. There are many products that you probably didn’t think were made this way. Many picture frames including very ornate versions. Ornate moldings used in high-end properties are another one.
3. Polyester Resin
A cost-effective option for larger projects, polyester resin is often used in industrial applications, laminates, and coatings. Its durability makes it suitable for outdoor use, but it has a stronger odor compared to epoxy or polyurethane resins.
- Strengths: Affordable and highly durable.
- Best For: Coatings, laminates, and large-scale molds.
Example: Polyester resin can be used to create durable outdoor planters or decorative wall panels, adding both utility and aesthetic appeal.
Customizing Your Resin
Regardless of the resin type, you can customize it by adding pigments, glitter, mica powder, or even embedding objects. These additives open endless possibilities for creative projects, whether you’re crafting a statement necklace or designing a unique tabletop.
Setting Up Your Workspace: A Beginner’s Guide to Resin Safety
Safety is paramount when working with resin. Setting up a clean, well-organized, and safe workspace ensures a stress-free crafting experience.
1. Ventilation is Key
Resin and hardeners can emit fumes during mixing and curing. Ensure your workspace is well-ventilated by opening windows or using a fan. For smaller spaces, consider a respirator mask designed for chemical fumes.
2. Essential Safety Gear
- Nitrile Gloves: Protect your skin from chemicals and sticky residues.
- Protective Goggles: Prevent accidental splashes from reaching your eyes.
- Apron or Protective Clothing: Resin is messy and stains are permanent.
3. Organized Workspace
Keep tools like stirring sticks, measuring cups, and molds within easy reach. This setup minimizes distractions and allows you to focus on your project without worrying about the product setting before you have used it.
4. Protect Surfaces
Cover your workspace with disposable plastic sheets or parchment paper to make cleanup easy. Resin drips and spills are inevitable but manageable with proper preparation.
Preparing Your Mold: Setting the Stage for Success
The mold is the foundation of your resin project. Proper mold preparation ensures your final piece is free of defects and easy to remove.
1. Choosing the Right Mold
Silicone molds are the go-to choice for most projects. They’re flexible, durable, and capable of capturing intricate details, making them suitable for jewelry, coasters, and figurines. For custom designs, you can create your own molds using liquid silicone.
2. Cleaning and Conditioning
- Clean Thoroughly: Wash molds with soap and water to remove dust and debris. Dry them completely to avoid interfering with curing.
- Use Mold Release Agents: While silicone molds often don’t require a release agent, applying one can extend the mold’s life and make demolding easier. Lightly spray and let it dry before use.
3. Understanding Mold Limitations
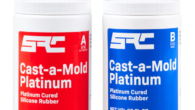
Not all molds are suitable for resin. Ensure your mold material can withstand the heat generated during curing without warping or releasing harmful chemicals. Platinum food grade silicone is by far the best product to use.
Perfecting the Resin Mix: The Science of Success
Achieving the right mix is critical for smooth curing and a polished finish.
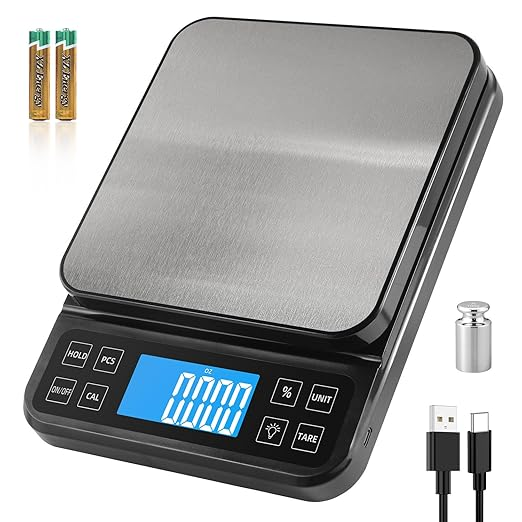
1. Measure Accurately
Follow your resin kit’s instructions for the correct resin-to-hardener ratio. Use separate measuring cups for each component to avoid contamination. Use weighing scales almost all resins are by weight not volume.
2. Mix Slowly
Combine the components in a clean container, stirring slowly for the recommended time. Avoid vigorous mixing to prevent air bubbles, which can mar the finished product.
3. Additives for Customization
Introduce pigments, mica powders, or inclusions like dried flowers during mixing. Stir gently to ensure even distribution without introducing bubbles.
Advanced Tip: For metallic or gradient effects, divide your resin into smaller portions, add different pigments to each, and swirl them together when pouring.
Pouring the Resin: Techniques for a Professional Finish
The way you pour resin directly impacts the quality of your final piece.
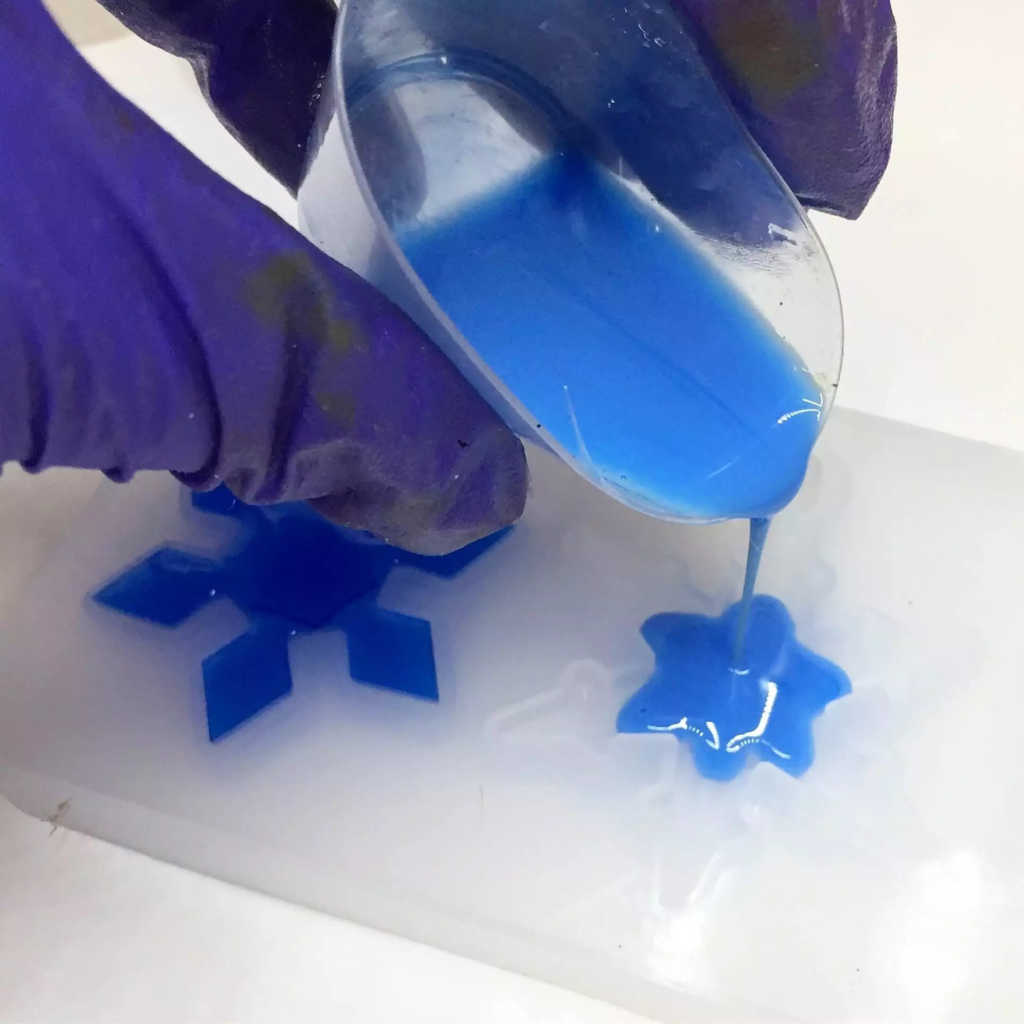
1. Pour Slowly
Hold your container close to the mold and pour in a steady stream. This minimizes bubbles and ensures even coverage.
2. Layering for Depth
To create depth or multi-colored designs, pour resin in layers, allowing each to partially cure before adding the next. This technique works beautifully for coasters, jewelry, and art.
3. Bubble Management
Use a heat gun or small torch to remove surface bubbles. Move the heat tool quickly across the surface to avoid overheating the resin or damaging the mold.
Curing Time: The Art of Patience
Curing is where resin transforms from liquid to solid. While the process requires patience, it’s essential for achieving durable and professional results.
Factors Affecting Curing
- Time: Most resins cure in 24–48 hours, but some fast-curing resin hardens in as little as 6 hours.
- Temperature: Maintain a stable room temperature (21°C–24°C or 70°F–75°F) to avoid curing issues.
Protecting Your Piece
Cover your project with a dust shield while curing to prevent particles from settling. Avoid moving or disturbing the mold during this time to ensure a flawless finish.
Troubleshooting Issues
Even with careful preparation, resin crafting can have its challenges. Here’s how to handle common problems:
- Bubbles: Apply gentle heat with a torch or poke larger bubbles with a toothpick.
- Sticky Areas: Often caused by incorrect ratios. Unfortunately, sticky resin cannot be salvaged, so precise measuring is critical.
- Fish Eyes: Caused by contamination or uneven mixing. Clean molds thoroughly and stir steadily.
Exploring the Creative Possibilities
Resin opens the door to endless creativity:
- Jewelry: Create custom pendants, earrings, and rings with embedded objects or layered colors.
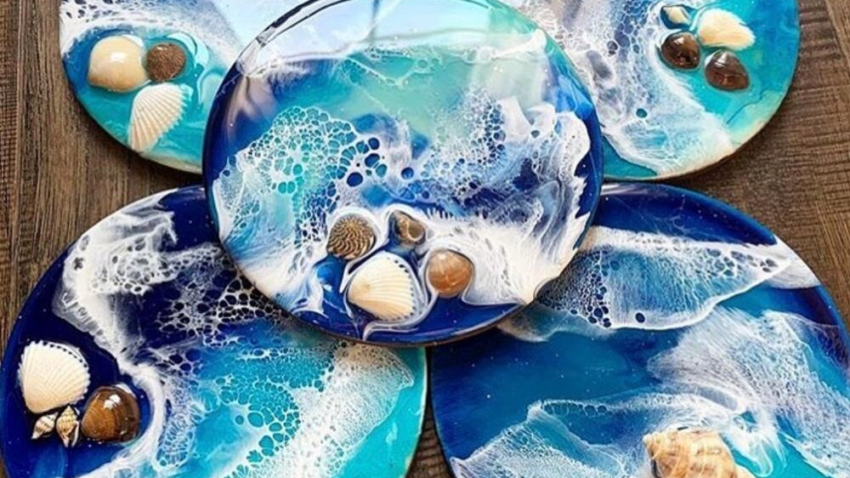
- Home Décor: Design coasters, tabletops, or wall art with vibrant pigments and unique patterns.
- Prototyping: Use resin for detailed figurines, models, or architectural designs.
Each project is an opportunity to refine your skills and push creative boundaries.
Final Thoughts: Mastering the Art of Resin Crafting
Resin crafting combines science, art, and creativity. By understanding the materials, preparing your workspace, and mastering techniques, you can transform simple ideas into extraordinary creations.
What will you create next?
Contact Us
We hope you find the information useful, but if you have any questions or need help, send us a message. You do have to sign in and confirm these days to comply with government rules. Sorry for the inconvenience.
Author Rob


Resin casting is such a fascinating process, and I appreciate the level of detail in explaining how to achieve the right consistency for perfect molds. I’m curious—when working with intricate molds, what tips would you suggest to avoid air bubbles or imperfections in the final product? Also, do you find that different types of resins work better for specific applications, such as art projects versus industrial purposes?
Hi Slavisa,
Thank yu for your comments, my tips for the dreaded bubbles, by a good product mix slow and pour slow. As for which resin to use for what. That is a broad question because it is project dependent. but reading the products claims and reviews goes a long way to getting it close.
Robby
Hello Rob!
This is a great guide for anyone looking to perfect their resin mixing skills for mold casting! I really appreciate the breakdown of the step-by-step process, especially the tips on achieving the right consistency and avoiding common mistakes. The section on temperature control and its impact on curing time was particularly helpful—something many people might overlook.
I personally started playing with UV resin a year and a half ago and have a lot of fun, and learned a lot, about the process and the Dos and Don’ts. I haven’t used the resin that you mix together.
Do you have any advice on how to troubleshoot if the resin doesn’t cure properly? I’d love to hear your thoughts!
Angela M 🙂
Hi Angela,
Thanks for your comments. When you advance to using any of the 2-part resins I would love to hear how you got on. You have to plan correctly for that product. These type of resins don’t wait to be cooked, they switch n and cook themselves.
Rob