
Personalized Resin Jewelry: How To Capture Memories In Resin
Introduction to Resin Jewelry
Personalized resin jewelry brings memories to life by capturing the beauty of cherished mementos in a clear, durable medium. I began exploring resin jewelry a few years back when I wanted a unique way to hold on to little treasures. This technique is ideal for preserving keepsakes such as dried flowers, small charms, or fragments of handwritten notes, creating pieces that are both personal and long lasting. Any big items you can set aside for future household projects.
In this article I share a series of straightforward steps to help you create your own personalized resin jewelry. The process is simple enough for beginners while providing enough depth for those with previous crafting experience. Each part, from selecting beloved items to troubleshooting common issues, is explained concisely so you can confidently begin a project that reflects your own memories.
Table of contents
1. Choosing Your Cherished Keepsakes
Every piece starts by choosing items that hold personal meaning. Whether it’s a scrap of fabric, a tiny stone from a favorite place, or a fragment of a letter, the keepsakes you choose tell your unique story. I recommend taking time to look through your possessions and select objects that evoke warm memories or significant moments.
Spend a few minutes sorting through your treasures. Focusing on items that remind you of happy times ensures that the final piece is not just decorative but also a heartfelt reminder of your past. This step is very important in setting the emotional tone for your jewelry.
- Collect small mementos you want to preserve.
- Consider their size and shape in relation to the piece you plan to create.
- Arrange them mentally or on your work surface to visualize the final design.
2. Preparing Your Workspace and Resin Materials
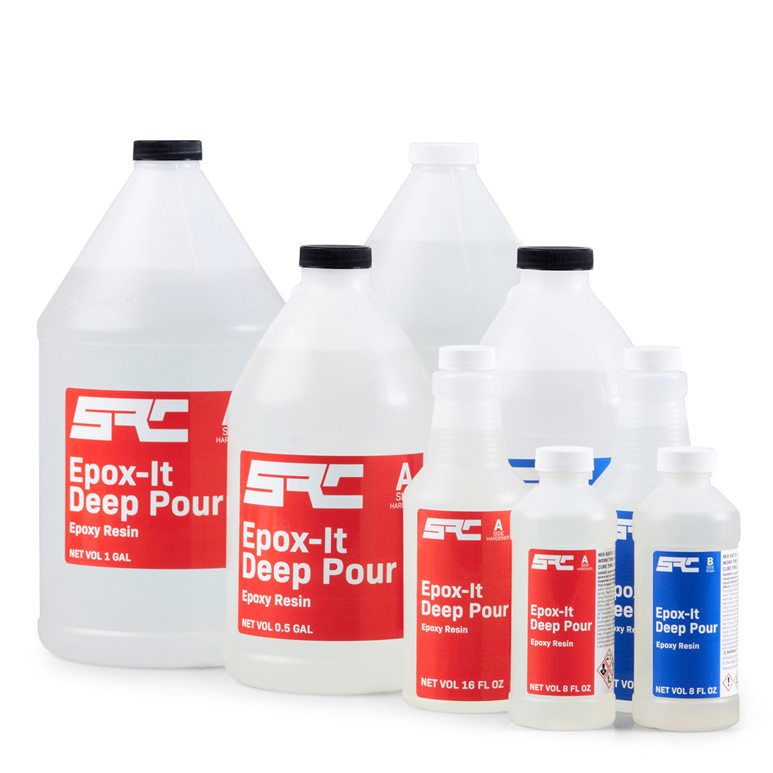
A clean and well-lit workspace is essential for a successful resin project. I always set up in a dust-free area, ensuring that no stray particles disturb the resin as it cures. Start by gathering the necessary materials: resin, hardener, disposable mixing cups, stirring sticks, and a mold or bezel for your jewelry. Protective gloves and a mask are also wise choices for safe handling.
Make sure the tools and surface are spotless. Even a small crumb or speck of dust can affect the clarity or finish of your final creation. A neat workspace not only improves safety but also helps you achieve a professional quality finish.
As an Amazon Associate, I earn from qualifying purchases.
This post contains affiliate links. If you buy through them, I may earn a commission at no extra cost to you.
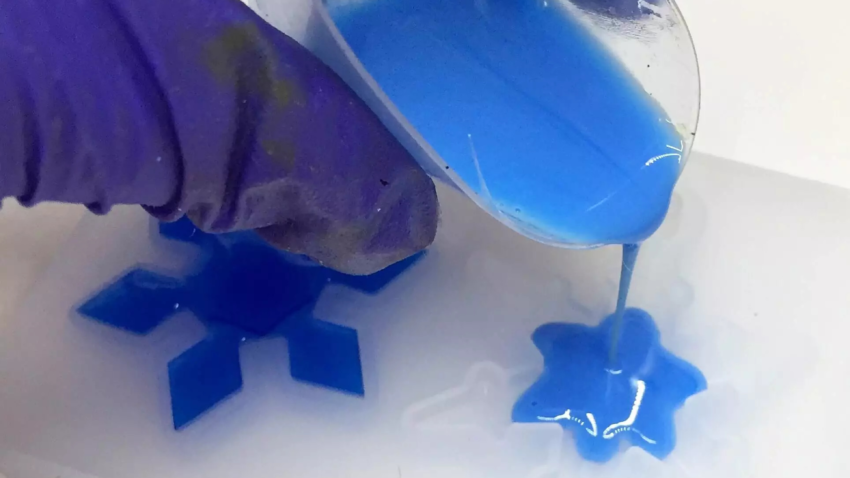
3. Mixing Resin and Achieving the Right Consistency
If you are using an epoxy 2-part resin, mixing the resin properly is one of the most technical steps. I learned early on that the ratio of resin to hardener must be followed exactly according to the instructions. Once mixed, a chemical reaction begins that cures the piece to a firm, glass-like finish. Incorrect measurements or hasty mixing can result in uneven surfaces or a tacky texture.
Combine the resin and hardener slowly, stirring continuously to reduce the formation of bubbles. If bubbles do form, letting the mixture rest on a flat surface can help them rise and pop. Patience during this stage is key: a careful mix will yield a clear, smooth medium for your keepsakes.
- Measure resin and hardener accurately.
- Stir slowly and evenly to limit air bubbles.
- If needed, allow the mixture to rest so bubbles can escape before pouring.
Because of the challenges of epoxy resin, many people begin their journey with UV resins and UV lamps, no 2-parts to mix. We will cover this variation in another post shortly. You may also like to read our post on using resin by clicking here.
4. Embedding Mementos in Resin Jewelry
This is the creative heart of the process. Before pouring resin into your mold, plan the layout of your chosen items. Place your mementos carefully so you can get a sense of the final look. Adjust positions as needed to ensure the design tells your story clearly.
When arranging your items, consider their size and transparency. Some pieces might obscure others if they are too dark. Testing a few layouts on a flat surface can help you decide the most balanced composition. Taking a thoughtful approach at this stage ensures that every element gets its moment to shine.
- Pre-arrange mementos in the mold before pouring the resin.
- Use a small tool like a toothpick to reposition tiny items.
- Pour a thin layer first, add your keepsakes, and then cover with more resin. This helps to eliminate potential trapped air.
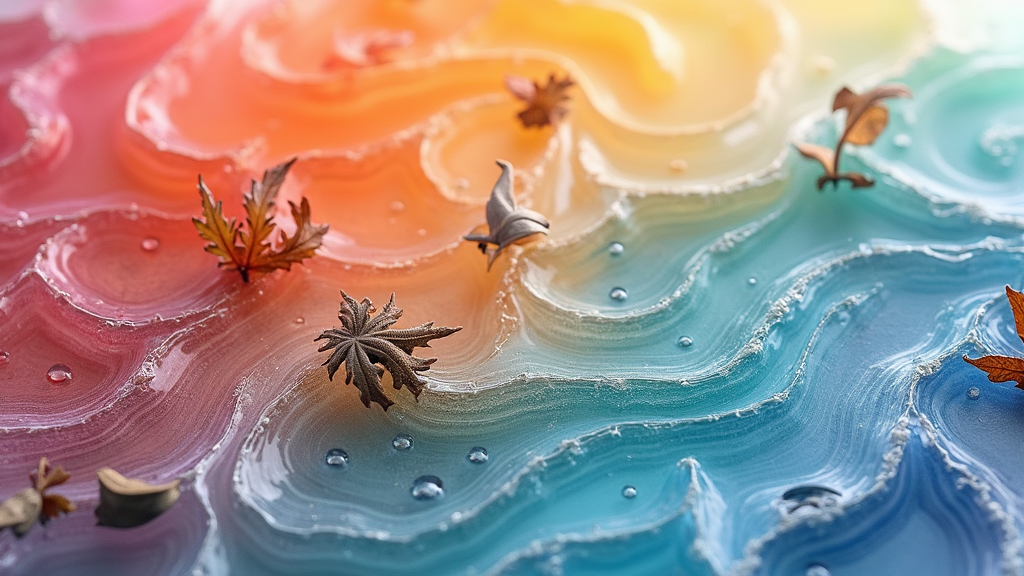
5. Incorporating Colors for Personal Flair
Resin jewelry offers great creative freedom, especially when you add pigments or dyes. I like to introduce color to step up the emotional impact of a piece. A light tint can evoke a particular mood or highlight a memory without overwhelming the embedded items.
Add color drop by drop, and mix well before the resin starts to cure. Different combinations can create unique moods, so experiment with small amounts before committing to the final shade. The aim is to complement the natural tones of your keepsakes rather than mask them.
- Add dye gradually until you reach a subtle tint.
- Test on a small sample if unsure about the final color.
- Mix two or more pigments carefully to achieve layered hues.
6. Layering Techniques to Build Depth
One way to add visual interest to your resin jewelry is by layering. Pour a thin base layer of resin and let it set partially before adding a second layer. This method creates a sense of depth, with each layer offering a glimpse of the embedded mementos.
Layering also allows you to incorporate more than one color or design element in a controlled manner. Be sure to let each layer cure sufficiently before applying the next. This careful process prevents unwanted mixing of colors and maintains distinct layers.
- Pour a base layer and wait for it to firm up slightly.
- Add additional layers along with more mementos or colors as desired.
- Allow each layer sufficient curing time before continuing.
7. Adding Final Finishing Touches
Once the resin has fully cured, inspect your piece for any rough edges or imperfections. Light sanding can smooth out these areas, while polishing helps restore the natural shine. A final top coat of resin can also be applied to lock in the design and add extra clarity.
These finishing touches ensure that your jewelry is both durable and aesthetically pleasing. A well-finished piece is ready for daily wear or to be showcased as a meaningful keepsake.
- Smooth rough spots with a very fine sandpaper.
- Polish after full curing to bring back the shine.
- Apply a top coat if extra protection or gloss is desired.
8. Curing and Sealing for Longevity
Proper curing is critical for a strong, clear finish. Follow the resin manufacturer’s guidelines closely; depending on the resin, this can take several hours to a full day. Rushing the curing process may compromise the durability of your jewelry.
After curing, a sealant or sealing coat of resin is applied to safeguard the piece against scratches and environmental damage. Ensuring the jewelry is kept away from extreme temperatures and direct sunlight will help maintain its luster over time.
- Stick to the recommended curing times without cutting corners.
- Use a sealant, if its not resin, that bonds well with resin for extra protection.
- Store your finished jewelry in a controlled environment to avoid damage.
9. Troubleshooting Common Resin Jewelry Issues
Even experienced crafters encounter issues like air bubbles, uneven surfaces, or dust contamination. If you notice bubbles, a small heat gun or even a lighter can help pop them before the resin fully sets. Uneven layers can be addressed by slowing your pour and ensuring the resin is spread evenly.
Staying calm and methodically addressing problems as they arise will improve your technique over time. Practice makes perfect, and each obstacle is a learning opportunity in refining your craft.
- Use gentle heat to remove surface bubbles.
- Maintain a dust-free workspace to avoid contamination.
- Pour and stir slowly and deliberately to achieve smooth, even layers.
10. Restoring Creativity Through Personalized Resin Jewelry Designs
Resin jewelry is a creative outlet that mixes art with memory preservation. Over time I have experimented with various ways to customize my pieces. Trying out different embedments, color combinations, and layering styles allows you to create designs that are truly one of a kind. I encourage you to trust your creative instincts and let your imagination guide you. Even small experiments can make your pieces stand out.
This process is not only enjoyable but also deeply personal. Each completed piece becomes a wearable memento that captures a moment in time. Whether you decide to craft for yourself or as a thoughtful gift, the creative journey offers both satisfaction and lasting memories. I have learned that letting go of perfection and embracing small mishaps is part of the adventure, and every challenge helps sharpen your skills.
- Mix different textures or include natural elements like pressed leaves and tiny shells.
- Experiment with subtle color gradients to create depth as the piece catches the light.
- Trust your instincts and don’t be afraid to try new arrangements.
Wrapping Up
Personalized resin jewelry offers a unique way to preserve special memories in a wearable form. From the careful selection of keepsakes to troubleshooting resin issues, every step requires attention and creativity. By following the guidelines above, you can create pieces that are both beautiful and sentimentally charged.
The process is a blend of science and art. With accurate measurements, a patient approach, and a willingness to experiment, you can produce jewelry that lasts while capturing the essence of your most cherished moments. Whether you are a beginner or a seasoned crafter, each project brings its own rewards and lessons.
Resin jewelry is more than just an accessory. It is a method of holding onto smiles, adventures, and moments that might otherwise be lost. By putting thought into every step, you create a tangible piece of your personal history that can be treasured for years to come.
Contact Us
We hope you found this information on resin jewelry helpful! If you have any questions or need assistance, feel free to reach out. Please note that due to government regulations, you’ll need to sign in and confirm your message. We apologize for any inconvenience.
Author: Rob
This is the platform that I chose to teach me how to build websites.


I’ve been working with resin jewelry for a while now, and I love how it allows me to turn sentimental keepsakes into wearable art. Your step-by-step guide is incredibly helpful, especially for beginners who might feel intimidated by the process. I’ve found that experimenting with layering and subtle color gradients adds even more depth to the pieces. Looking forward to trying some of your techniques—thanks for sharing such a detailed and inspiring guide!
Hi Herman,
Thank you for your comments and I am happy to hear that you intend to try some of the techniques offered.
Rob
Hello Rob!
This is such a beautiful way to preserve special memories! I love the idea of embedding flowers, sand, or even small handwritten notes into resin jewelry—it makes each piece so unique and personal.
Do you have any tips for beginners to avoid common mistakes, like bubbles or cloudiness in the resin? Also, what’s the most meaningful piece you’ve ever created or seen someone make? I love making resin jewelry but have never tried to preserve memories in them.
Thanks for sharing this guide—I’m feeling inspired to get back into resin jewelry again!
Angela M 🙂
Hi Angela,
I thank you for your positive comments, it is really quite amazing how creative one can be with resin and embedments.
Rob