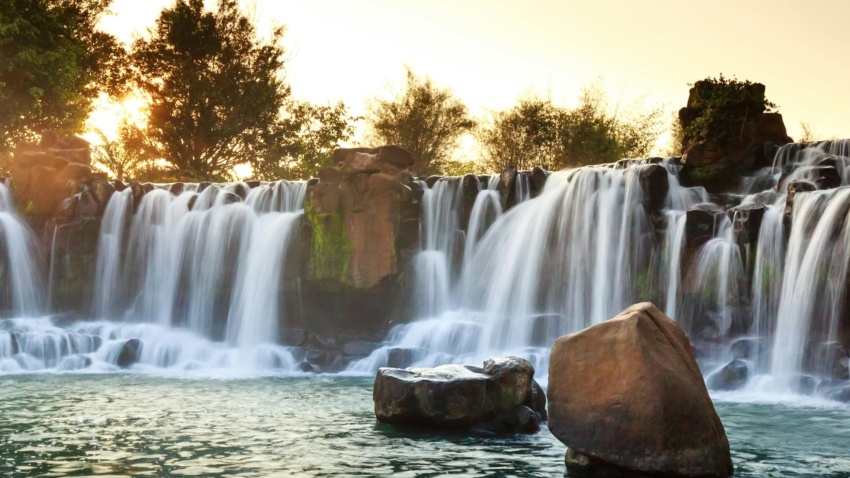
How To Build A Pond Waterfall With Concrete
How to build a pond Waterfall with concrete is more than just adding a waterfall to your garden pond. It’s about the serene sound of flowing water; it’s also a fantastic way to aerate the water, keeping your pond ecosystem healthy. When planning your waterfall, think of it as a centerpiece—something that adds not only functionality but also aesthetic charm to your garden.
Table of contents
- Overview Of How To Build A Pond Waterfall With Concrete
- How To Build A Pond Waterfall & Deciding On The Height
- In How To Build A Pond Waterfall & Preparing Your Foundation
- How To Build A Pond Waterfall & Installing All The Services
- Electrical Work
- Mixing, Pouring, and Shaping the Base Structure In How To Build A Pond Waterfall
- Pouring, and Shaping the Base Structure In How To Build A Pond Waterfall
- Detailing with Color and Texture
- How To Build A Pond Waterfall & Shaping & Blending
- Final Touches and Functional Integration
- Tools & materials List
- Conclusion
- Contact Us

I/We promote transparency. This post or site may contain affiliate links. This means only if you make a purchase through these links, not just by clicking, I/we may earn a small commission at no extra cost to you.
As an Amazon Associate, I earn from qualifying purchases
Overview Of How To Build A Pond Waterfall With Concrete
Start with your vision. The first major choice is if you’re planning or already have a pond. You don’t have to have a pond to have a waterfall. If no Pond then be ready to form a pooling area at the bottom level where your pipework will collect the water for recycling back to the top.. Go bold and beautiful with several tiers, each offering a unique place for water to cascade and for plants to thrive. Just remember the higher you go the more work that is involved, but it will be so much more of a focal point for us humans and the wildlife alike. You can use different colored concretes to give a natural, varied look to your waterfall.
Imagine earthy browns, slate greys, and mossy greens that can mimic the beauty of natural rocks. It would be a good idea to acquire some broken pieces of natural stone for a few reasons, to look at the natural colors when they are wet, and depending on your choice of stone, to use them as stamps into your wet mix on certain areas of your upcoming concrete work, or to build into the spillways.
How To Build A Pond Waterfall & Deciding On The Height
Height adds drama. More tiers mean more visual interest. Create additional pooling areas on the waters journey from top to the bottom. Keep in mind, that each tier offers an opportunity to create mini-ecosystems with a variety of small aquatic plants. Plants not only add to the beauty but also help keep your water clean and oxygenated.
Placement is crucial. You want your waterfall to be visible, but also harmonious with the rest of your garden. Think about sightlines from different parts of your garden and even from inside your home. And will you require a garden path for access to and from or to link with other parts of your garden? These are really handy when the weather has been bad.
Finally, consider the sound. The volume and tone of water falling can vary based on the height and flow. Experiment with different designs to see what pleases your ear by using a hose and buckets can be useful for this exercise. A gentle trickle can be as soothing as a vigorous gush, and sometimes mixing the two can create a more interesting auditory experience.
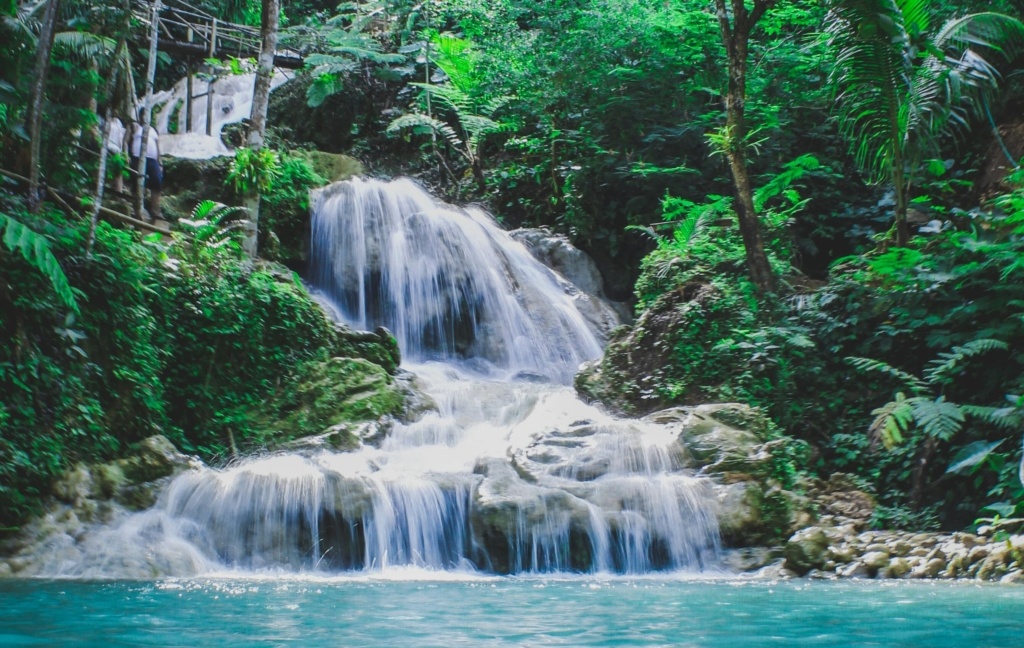
In How To Build A Pond Waterfall & Preparing Your Foundation
In how to build a pond waterfall the preparation of the ground formation & level just right is non-negotiable. Without a solid base, your gorgeous waterfall could end up sinking or shifting over a short time. Start by marking out the area where the waterfall will sit. Clear away all the grass and topsoil, and save any rocks and any other hard material, any general garden debris goes to the compost heap or trash can. so you’re working with clean sub-soil.
Layer up with bricks or hard rubble and if you have more, form some of the higher areas with rubble too, helping to start forming the shape. This also creates a strong foundation that helps distribute the weight evenly. It’s like giving your waterfall a pair of tank tracks to stand on.
How To Build A Pond Waterfall & Installing All The Services
In how to build a pond waterfall it’s now it’s time to think ahead about plumbing and electricity as it’s now the time to run any pipes or electrical conduits. This will save you a world of time and trouble later. Install any necessary pipework, using schedule 40 pipe is better and before you start pouring any concrete. A bigger pipe is better coming from the bottom of your fountain or from inside an existing pond to your pump housing. Leaving a separate branch off for later use in an accessible place might be worth a thought too.
Installing a hidden boxed-out section at the highest point of your fountain can conceal the pump, valves and electrical connections nicely, and keep the aesthetic clean. You can also run the pipe(s) that are going to feed your waterfall from here. It is also advisable to run a water supply for topping up or any cleaning of your waterfall. An above-ground pump is the best way to go with a strainer basket built-in. It’s far easier to service and clean out the trash.
Electrical Work
Your electrician may want to install an exterior outlet in this area, or at least a conduit to another local source of power. So check with him on this point. He will want to know the details of the pump and any lighting you might be considering.
Go over your hardcore and rubble compacting it into the ground below is great practice. Use a tamper or your biggest hammer if it’s a small area. The goal is to make sure everything is tightly packed and stable. Even spreading a little clean sand over the hardcore can be very useful and save a little concrete.
Double-check everything before you move on. Plumbing, base stability, electrical setup—give it all a thorough look. It’s way easier to fix issues now than to backtrack later.
Mixing, Pouring, and Shaping the Base Structure In How To Build A Pond Waterfall
The base structure is like the backbone of your waterfall. You’ll want to get this part right to support all the detailed work that comes later. Mixing your concrete is the first step. If you are using bag mixes, be sure to follow the instructions on the bag for the correct water-to-mix ratio. In all instances, if you can, then using a mixer would be best for all the concrete work. If you are using bagged mixes then add a little extra cement and concrete fibers are a must, no matter how you mix it, non ferous reinforcing is the best way to go. You’re aiming for a thick, workable consistency that’s a little on the stiff side. Remember you not looking for a smooth finish, leaving a key for the final layer(s) is more important.
Pouring, and Shaping the Base Structure In How To Build A Pond Waterfall
Pour the concrete into the outlined area, starting from the bottom up. Use your gloved hands and simple tools to shape the rough structure of your waterfall. Think of the large sections as the backbone, and don’t worry too much about imperfections at this stage. These will get covered by the next layers of colored concrete. Remember to build in pieces of real stone at your spillways if that is part of your plan. Wet these pieces before setting to help with the bonding.
Maintain enough thickness. This is vital for ensuring stability when you start adding details later. You don’t want your structure to be too thin or it might crack under the weight of the water at 8.34Lb per gallon and additional structure. Work through one tier at a time. Start with the bottom, let it set slightly, and then go up to the next level. This tiered method gives each section time to cure a bit, which helps with overall stability.
Smooth out rough shapes. While it’s still wet, smooth out any overly rough spots with your gloved hand or a basic trowel. leaving a keyed surface helps with the top coats. The goal here isn’t perfection, just making sure everything’s set for the detailed work that comes in the next phase. And make sure you have left enough depth for your bottom pool, this is especially important where you have no pond. Your return pipe to your pump should beat the lowest point.
Detailing with Color and Texture
Prepping is the name of the game before diving into the fun part—adding color and texture. Start by cleaning off any dirt or loose concrete from your rough structure. Giving it a light rinse with water helps remove dust, ensuring the next layer sticks well. This is especially important if you have let it stand for a while. If you’re looking for extra insurance on adhesion, a thin coat of PVA bonding can work wonders.
Get your colored concrete mixes ready. You’re going to want them a bit stronger than the base mix to handle the wear and tear from the water. Think of colors that blend well together; gritty browns, slate grays, mossy greens. Mixing these in different proportions can create a natural rock look that’s hard to beat.
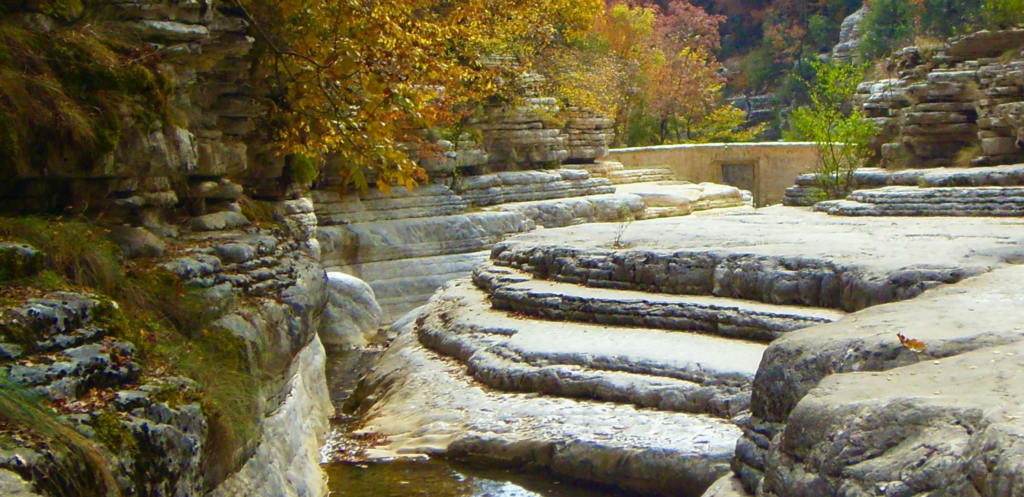
How To Build A Pond Waterfall & Shaping & Blending
How to build a pond & waterfall does come down to hand-shaping of the look-a-like rocks. Using your gloved hands, and even strong sponges, begin forming the rocks and crevices. Sponges are great for achieving that realistic, weathered stone texture. Layer the colors subtly, blending them to mimic nature’s randomness. Don’t be afraid to take a little time here. If you’ve got a higher design, you might need to do this in sections, letting them set up a little before moving on to the next part.
Focus on where the water will flow. The paths where the water cascades down and in any areas you want the pooling, should be smooth and free of blockages. Take extra care shaping these areas, ensuring the concrete is solid but still has a natural look. Fill any gaps or holes to avoid water leaking through and causing erosion. If you are a little concerned or just want to take that extra precaution. Then buy some waterproofing cement and make up a little special mix and apply it to these areas.
Check over your work. Before everything sets, step back and look at the overall design. Adjust any areas where the colors might not blend well or where the texture looks off. This is your chance to perfect the details that will make your waterfall unique.
Final Touches and Functional Integration
Once your structure is set and detailed, it’s time to move on to the finishing touches that will bring your waterfall to life. Start by cleaning up any excess concrete splatters or debris that may have accumulated during the build. A simple brush and some water should do the trick.
Now, prepare the spots for your plants. Adding good quality soil around and in between the rocks will create perfect planter pockets. Choose plants that thrive in moist environments and add visual interest. Think ferns, mosses, or even small flowering plants. Placing these strategically will not only beautify your waterfall but also help in softening the look of the concrete.
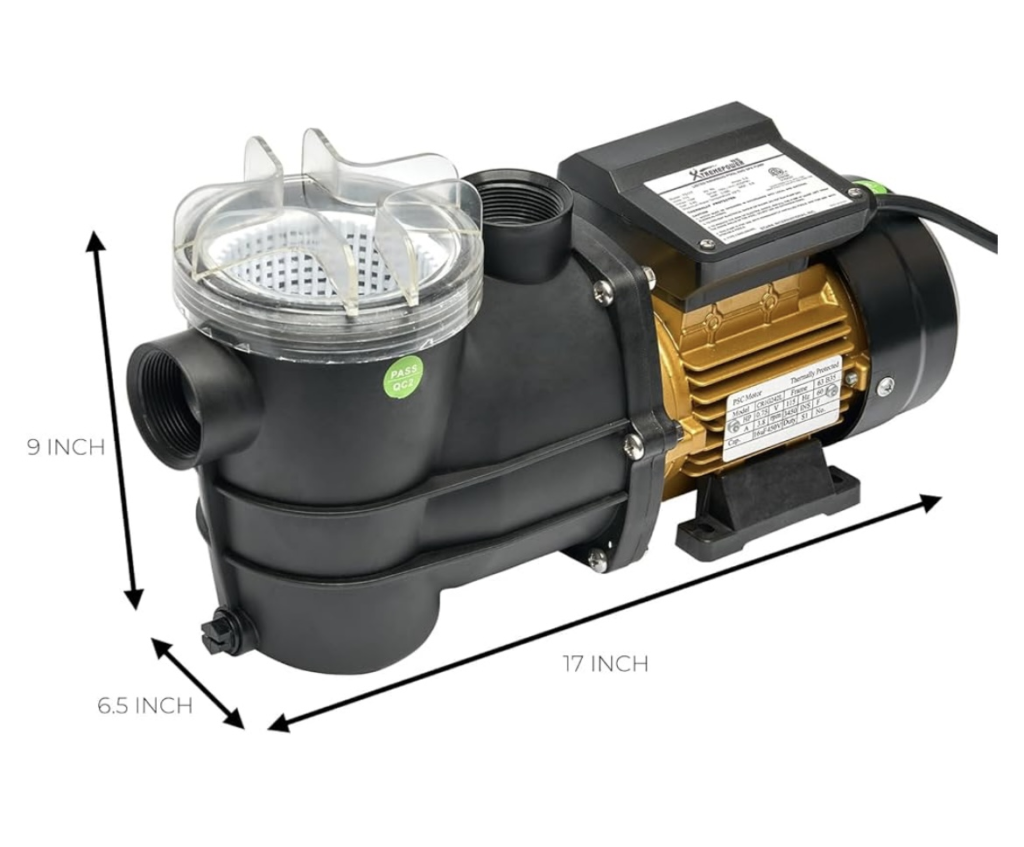
Get your pump ready. Connect it to the plumbing you laid earlier and follow the manufacturer’s instructions to prime it. Once connected, switch it on and watch the magic happen. Check for steady water flow and make any necessary adjustments to ensure it cascades just right over each tier. The pump pictured here has a strainer basket and is really a good price compared to other options.
Tools & materials List
- 1, Hammer, pegs and string line
- 2, Shovel, fork wheelbarrow.
- 3, Hardcore & hand tamper
- 4, 1 ½” – 1 ¼” PVC pipe, bends, couplings
- 5, PVC solvent cleaner Glue
- 6, ½” waterpipe. Electrical conduit.
- 7, Saw & plywood to make the pump housing, screws and screw gun
- 8, Concrete Mixer, gravel, sand, cement & concrete fibers
- 9, Trowel, sponges gloves, natural stone pieces
- 10, Fine sand, colored pigments, PVA bonding agent
- 11, Waterproofing compound
- 12, Pump & filter, any fittings, valves etc, grill for pick up pipe.
- 13, Electrical parts or Electrician, LED lighting
- 14, Water supply fittings and faucet
- 15, Soil and plants
- 16, A comfy chair
Conclusion
Finish by stepping back and taking in the view. Admire your handiwork and tweak any final details in the placement of rocks or plants. Make sure everything looks natural and harmonious. The sound of flowing water, combined with the sight of your newly built waterfall, will transform your garden into a tranquil oasis.
Contact Us
We hope you find the information useful, but if you have any questions or need help, send us a message. You do have to sign in and confirm these days to comply with government rules. Sorry for the inconvenience.
Author Rob


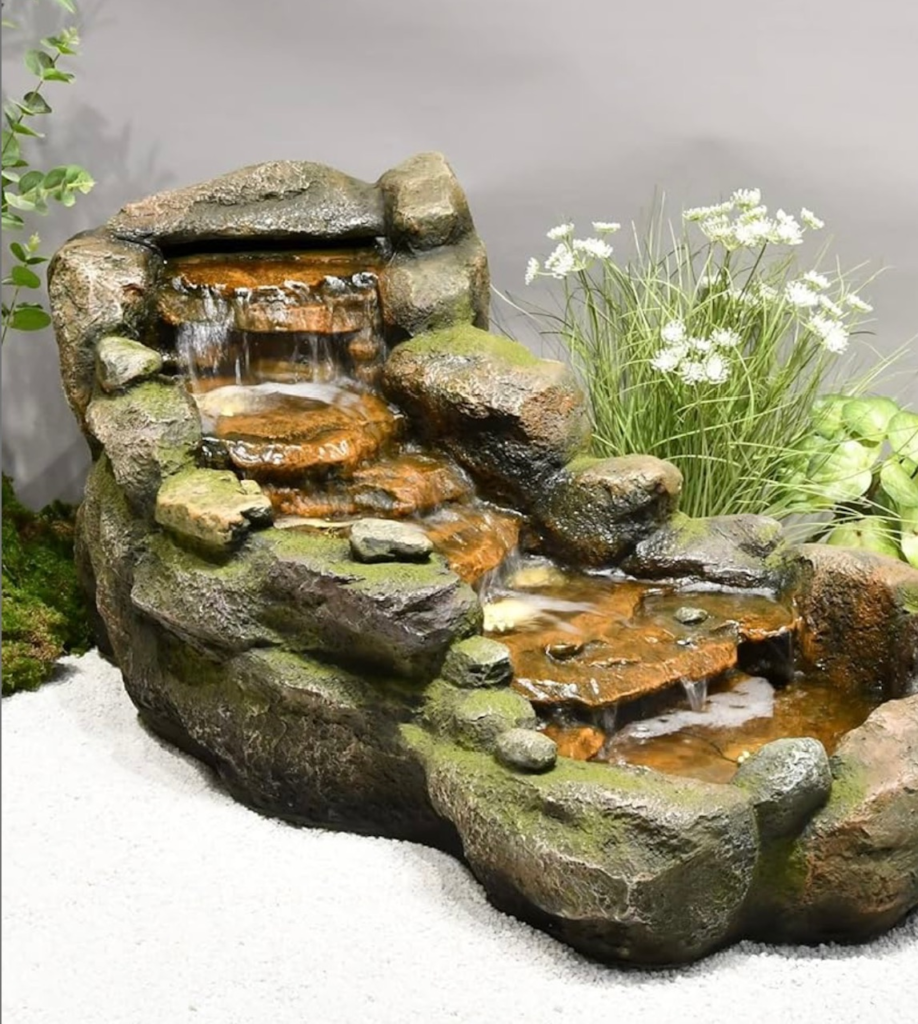




This is a very detailed guide full of inspiration and practical details to create a garden waterfall. Your breakdown of the process from conceptualizing the design to the final touches is very clear and engaging. I especially appreciate the tips on how to mix colors to mimic natural rock formations, which adds an artistic touch to the functionality of the project. I found interesting that you mentioned the sound of the water and the auditory experience as well. It slipped my mind – such an essential element after all. But I focused on the technicalities of the project. I am wondering if there are specific aquatic plants or low-maintenance options that would be ideal for beginners? Thanks for this great article!
Thank you MD, The field of aquatic plants is not something I am good at, SO much depends on water flow and quality, is what I would imagine.
I was referring to plants you could place in pockets on the outside of your waterfall, This would help to camouflage the sides of the build and add to the inherent beauty of the project.
It also helps with the attraction of wildlife