
How To Create Stunning Resin Beach Scenes With Realistic Waves
Stunning Resin Beach Scenes With Waves

Creating Stunning Resin Beach Scenes With Waves: The Art of the Ocean Beach Pour
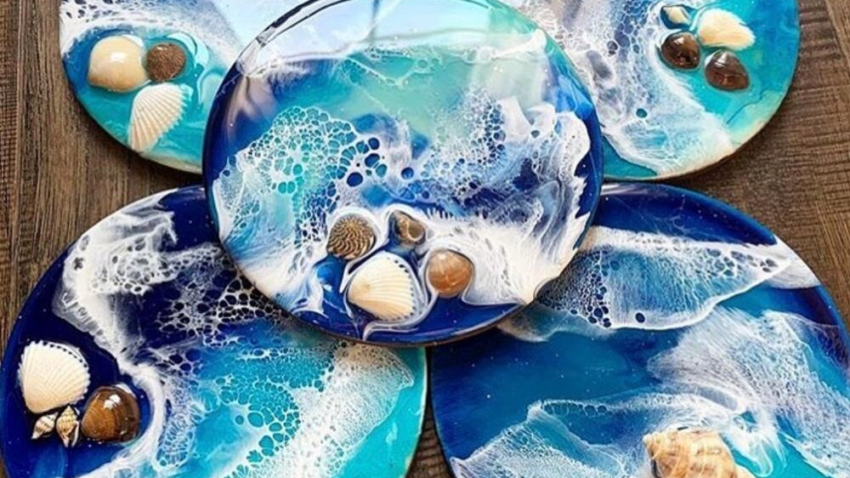
The mesmerizing effect of ocean waves captured in both UV and epoxy resin has become a popular trend in resin art. This technique, often referred to as the resin beach scenes wave technique, involves blending pigmented resin with heat and forced air manipulation to create realistic, foamy waves crashing onto a sandy or seashell-adorned shore.
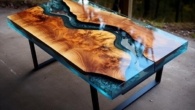
For smaller projects, UV resin is ideal due to its quick curing time, making it suitable for items like coasters and jewelry. Epoxy resin, on the other hand, is better suited for any size project, from serving boards to deep-pour river tables, as it allows for more intricate blending and effects. Mastering this method can elevate your resin work to new levels, creating breathtaking oceanic scenes.
Table of contents
Understanding the Resin Beach Scenes and the Wave Technique
Before starting a full project, experimenting with colors, movement, and layering techniques on a small test piece is highly recommended. A small circular mold with a shallow depth is a great choice for practice.
Suggested Practice Techniques:
- Wave Flow: Use a heat gun or hairdryer to push white resin over blue resin and create wave-like motion.
- Color Depth: Add black or navy blue for deeper ocean sections.
- Transparency: Experiment with different resin transparency levels for added depth.
- Sand & Texture: Incorporate real sand, crushed shells, or textured additives for a natural shoreline.
- Textured Layers: Adding a textured surface on top of the first shallow layer can enhance the overall wave effect.
Follow this link for another one of our posts on using resin, here
Safety Comes First: Working with Resin
Resin is a chemical compound that requires careful handling for both safety and a successful outcome.
Ventilation & Protection
- Work in a well-ventilated area or wear a respirator to avoid inhaling fumes especially with epoxy resin as it gives of strong VOC’s.
- Use nitrile gloves to prevent skin irritation and they help with some applications and make cleanup much simpler.
- Wear safety goggles to protect against splashes, especially during large pours and uncured UV resin.
Heat & Fire Safety
- Do not overheat resin with a torch or heat gun, as it can lead to bubbling or burning.
- If using alcohol inks or other flammable materials, it’s always best to keep a fire extinguisher nearby.
Proper Disposal
- Never pour excess resin down the drain—let it cure fully before disposal. Have secondary molds on standby to use up any leftover resin mix.
- Use silicone mats or disposable surfaces to protect your workspace and make clean up so much easier.
As an Amazon Associate, I earn from qualifying purchases.
This post contains affiliate links. If you buy through them, I may earn a commission at no extra cost to you.
Step-by-Step Process
1. Prepare Your Workspace & Materials
Ensure your work surface is level and protected with disposable coverings. Gather all supplies before mixing resin, as working time can be limited.
Note: if your worktop is not level then your pieces will end up un-level.
Materials Needed:
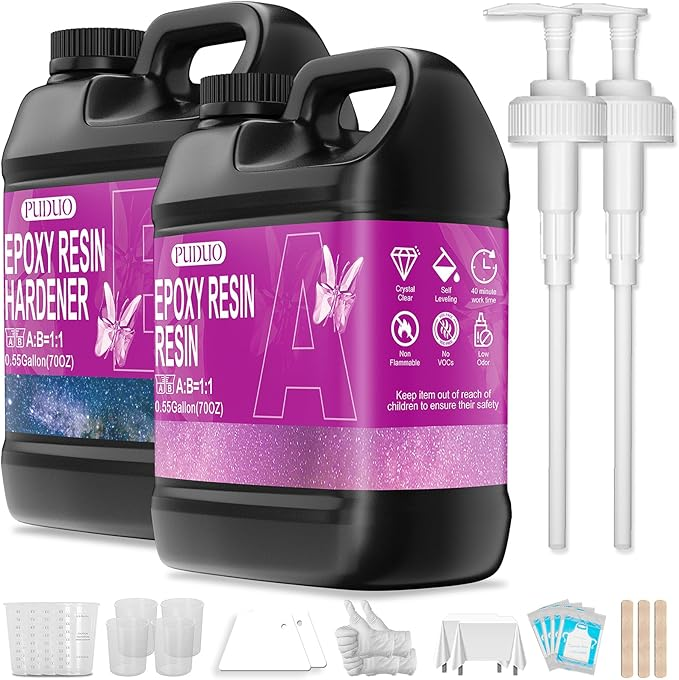
- Resin of choice (UV for small projects, epoxy for larger pieces or if you want controlled working times.)
- Pigments or alcohol inks (white, blue, teal, and sand colors)
- Mixing cups, stirring sticks, and weighing scales
- Hairdryer or heat gun (for creating wave effects)
- Silicone molds (food-grade recommended, as epoxy resin generates heat) see our post on silicone molds here.
My little tip: I like to coat my mixing containers with a little mold release wax, just the minimum from the applicator cloth, this makes clean much easier and most times allows for at least a 2nd use of disposable mixing containers as the resin peels off when set.
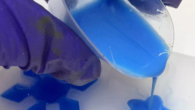
2. Mix Your First Resin Layer
Follow the manufacturer’s resin-to-hardener ratio—most epoxy resins require mixing by weight. Stir slowly to minimize air bubbles. Add blue pigment to create the ocean base, then pour it into the mold.
3. Layering Colors for Depth in Your Resin Beach Scenes
To create a more natural water effect:
- Deep blue for the ocean base.
- Turquoise or teal for shallower water.
- White for foamy waves.
Layer the colors from darkest to lightest, allowing them to naturally blend.
4. Create the Beach Effect
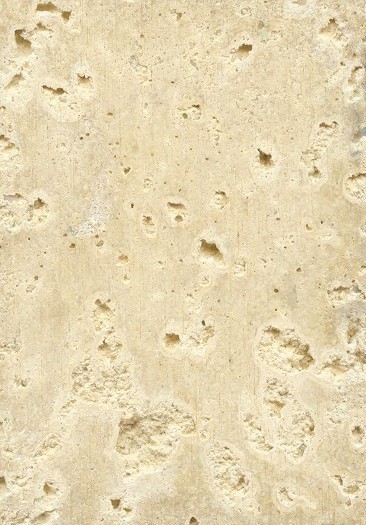
- Mix a sand-colored resin batch (similar to any real sand you are using) and pour it into the shoreline area.
- While the resin is still tacky, embed seashells, small stones, driftwood, or starfish.
5. Now it is Time to Form the Waves
- Mix white resin separately and apply thin lines where waves should form.
- Use a heat gun or hairdryer to push the white resin over the water layers. This creates a foamy, lacy effect.
- Experiment with different angles and speeds for the technique that best suits you and for the most natural results.
- Layer multiple waves for a more realistic shoreline. This may take a little practice.
6. Let It Cure
Allow the piece to cure fully according to the manufacturer’s instructions (24-48 hours for epoxy resin, minutes for UV resin under an Ultra Violet lamp).
Common Q&A’s
Q: Why is my resin bubbling?
A: Bubbles can form due to over-mixing or excessive heat. To reduce bubbles, let the resin sit for a few minutes before pouring and use a light torch pass to pop them.
Q: Can I fix mistakes after the resin cures?
A: Yes! You can sand down imperfections and add another clear resin layer to smooth the surface.
Q: How do I prevent waves from blending too much?
A: Use less heat when pushing waves and allow previous layers to cure slightly before adding additional waves.
Q: What type of resin is best for this technique?
A: UV resin is ideal for small projects like jewelry and coasters, as it cures quickly under a UV lamp. Epoxy resin is better for larger projects, as it allows more time for blending colors and creating intricate wave effects.
Final Thoughts
The resin beach scenes wave technique is a fantastic way to bring the beauty of the ocean into your artwork. It would also appear that this type of artwork is very popular. Whether you’re creating small decorative pieces or large, intricate wall art, experimentation is key. Try different pigments, layering styles, and textures to develop your unique style.
Have you tried making resin beach scenes? We’d love to hear about your experience!
Contact Us
We hope you found this information on how to create resin beach scenes helpful! If you have any questions or need assistance, feel free to reach out. Due to government regulations, you may need to sign in and confirm your message. We apologize for any inconvenience.
Author: Rob
P.S. This is the company that taught me how to build this site and 3 others in just 6 months—they keep their promises!


This article really captures the art and technique behind creating stunning resin beach scenes with realistic waves. I appreciate how it breaks down the process—from mixing pigmented resin layers and experimenting with different textures to using a heat gun for that perfect wave effect—making it accessible even for beginners. The detailed safety tips and step-by-step guidance not only emphasize the creative possibilities of resin art but also ensure you achieve a beautiful, controlled finish. I will say, it’s an inspiring guide that transforms the idea of ocean art into a hands-on, rewarding project.
Hi Dan,
I am glad you found the article informative and I thank you for the positive comments.
Rob