A Simple Guide To Liquid Rubber For Beginners
A Simple Guide to Liquid Rubber for Beginners
Liquid rubber is a versatile material widely used across various industries, from arts and crafts to heavy manufacturing. Known for its flexibility and durability, liquid rubber is particularly prized in mold-making because it captures intricate details. Beyond mold-making, it’s a go-to material for waterproofing roofs, sealing cracks in construction projects, and even crafting flexible parts like gaskets and seals. Its adaptability and ease of use make it an essential tool for both professionals and DIY enthusiasts.
Steps to Use Liquid Rubber for Mold Making
1. Prepare the Surface
- Clean the object thoroughly using warm soapy water or a non-abrasive cleaner to remove dust, grease, and other residues. For intricate models with fine details, use a soft-bristled brush to ensure every groove is clean. If the model is porous, consider sealing it with a thin coat of varnish or spray paint to prevent the liquid rubber from soaking into the material and to give a good smooth glossy surface on your finished piece.
- Ensure the mold box is sealed to avoid leaks, and apply a release agent to all surfaces, including the object and surrounding mold box.
As an Amazon Associate, I earn from qualifying purchases
This post contains affiliate links. If you make a purchase through these links, I may earn a commission at no extra cost to you.
2. Mix the Liquid Rubber For Beginners
- Follow the manufacturer’s instructions carefully—some rubbers mix by weight, others by volume.
- Stir slowly and thoroughly, scraping the sides of your container to avoid unmixed material.
- Minimize air bubbles by mixing slowly and adding components in the recommended order. They do vary by manufacturer.
3. Pour and Set
- Pour the rubber slowly over the object, ensuring it flows evenly and fills intricate details and any undercuts.
- Maintain the recommended workspace and material temperatures from original storing throughout the whole process until curing.
- Allow sufficient time for the rubber to cure based on the manufacturer’s guidelines.
4. Demolding and Use
- Gently remove the cured mold, trim any excess material, and test for usability.
- For repeated use, ensure molds are cleaned and properly stored after each project.
5. Tools and Materials Needed
- Liquid rubber (choose the type based on your project).
- Clean mixing containers and stir sticks.
- Mold release agent to prevent sticking.
- Mold box, sealed with hot glue or caulk.
- Soft-bristled brush for cleaning intricate models.
- Protective gloves and a mask (especially for polyurethane rubbers, which can emit fumes).
Did You Know?
Liquid silicone is a favorite for artists creating resin jewelry because it captures even the smallest details. To accommodate this industry many manufacturers and suppliers sell small kits to help avoid potential wasted product by shelf-life expiry as they use very small amounts.
Similarly, polyurethane rubber is widely used in the construction industry for casting durable molds of architectural features like stone column capitals or decorative panels or corbels. It has the advantage of being used in different types of mold like many different radius pieces, rather than conventional rigid molds.
Brush on versions of both silicone and polyurethane rubbers are available, and are used in tasks like historical restoration. These materials’ versatility makes them indispensable across these and many other industries.
Rubber For Beginners Tips and Common Mistakes
Rubber for Beginners Tips
- Start Small: If you’re new to working with liquid rubber, begin with a simple shape like a small block or coin-sized object. This allows you to practice mixing, pouring, and demolding without wasting expensive materials. Once you’ve mastered the basics, move on to more intricate designs that challenge your skills.
- Choose a silicone for ease of use and detailed results—ideal for beginners like platinum cured silicone.
- Avoid moisture, as it can interfere with curing (especially with polyurethane).
Common Mistakes in Rubber For Beginners
- Wrong Material: Not all liquid rubbers suit every project—consult your supplier.
- Poor Surface Prep: A poorly finished model leads to poor molds.
- Leaking Mold Boxes: Ensure boxes are sealed to prevent wasted material.
- Improper Mixing: Inaccurate measurements or rushing can result in weak molds.
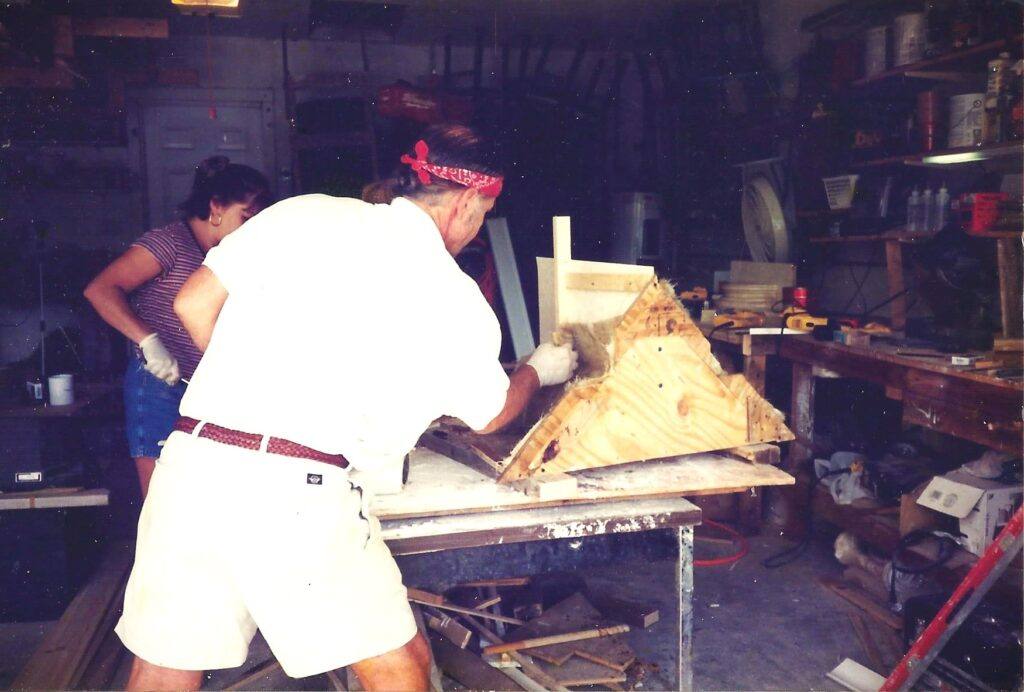
I always remember my first experience.
“When I first started using liquid rubber, I wasted nearly an entire batch because I forgot to seal my mold box. Watching the expensive silicone leak all over my workbench was a hard lesson—but one I’ve never forgotten. That’s why proper preparation is always my top tip for liquid rubber for beginners. I had also chosen a very complicated and intricate mold for my first. Well before we could watch a YouTube video or Google it for facts. It was a 10” Corinthian capital that I had to have for a project I had sold.”
FAQs: Answering Common Questions
1. What’s the difference between liquid silicone and liquid rubber?
- Silicone is more flexible with great tear strength, heat-resistant, and ideal for coping finer detailed models or items. Other rubbers, like polyurethane, are better for heavy-duty and robust uses.
2. How long does it take for liquid rubber to cure?
· Curing time depends on the type of liquid rubber and environmental conditions.
· Silicone typically takes anywhere from 1–24 hours to cure at room temperature.
· Polyurethane can set much faster, in as little as 30 minutes to a few hours.
· Latex rubber usually requires several hours to a full day. For faster curing, some manufacturers recommend using a low-heat oven or increasing workspace temperatures to the ideal range.
- Pro Tip: Speed up curing by placing a silicone mold in an oven at 150°F for as little as 30 minutes.
- A polyurethene mold in an oven at 140°F oven for 4 and up to 16 hours (if manufacturer-approved).
3. How Can I reuse molds?
- Yes! Silicone and polyurethane molds can last for hundreds of uses if stored and maintained correctly. Silicone is more durable and longer lasting than Polyurethane.
4. Can liquid rubber be used outdoors?
- Yes, especially EPDM and polyurethane, which are weather-resistant. Silicone may need UV protection for prolonged exposure.
5. How do I fix air bubbles in my mold?
· To avoid bubbles, always mix the liquid rubber slowly and tap the mold box gently after pouring to release trapped air. For high-precision molds, use a vacuum chamber for degassing. Many new products claim to have eliminated the need for this process.
6. Is Color Used inliquid rubber?
· Yes, many liquid rubbers can be tinted with compatible pigments to match project requirements. Be sure to use dyes recommended by the manufacturer to ensure compatibility.
Conclusion
Liquid rubber is an incredible material for beginners and professionals alike. Whether you’re crafting intricate molds, sealing surfaces, or tackling waterproofing projects, choosing the right product and following best practices ensures your success.
Ready to get started? Explore Cast Stone Pro
Whether you’re new to crafting techniques, or just starting your digital journey, you’ll find tips, insights, and resources to inspire your creativity. Start Exploring Here!
Explore our product recommendations or reach out for expert advice!
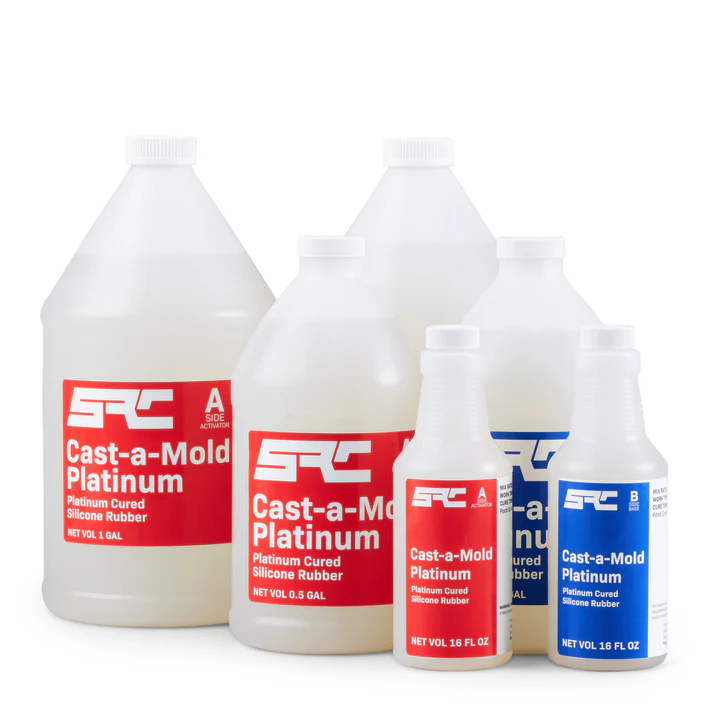
Speciality Resins and chemicals (SRC) has all types of rubber products in small to medium-sized kits with a fast delivery of fresh manufactured product.
They also carry many of the accessories and additives that you may in your journey in the mold making world.
Contact Us
We hope you find the information useful, but if you have any questions or need help, send us a message. You do have to sign in and confirm these days to comply with government rules. Sorry for the inconvenience.
Author Rob






This guide is a great starting point for beginners looking to work with liquid rubber. It covers the essentials from preparation to demolding, and it’s packed with practical advice that can save newbies from common pitfalls.
I appreciate the detailed steps for using liquid rubber, especially the emphasis on surface preparation and the importance of following the manufacturer’s instructions for mixing.
Overall, a well-structured guide that simplifies the complex world of liquid rubber. It’s inspiring to see how versatile this material is and the wide range of applications it can be used for. Thanks for sharing this informative resource!
Hi Shaun, Glad you liked the post and thank you for your comments.
Rob
Great guide! I love how you’ve broken down the process of working with liquid rubber in such a clear and beginner-friendly way. The step-by-step instructions, especially on mixing and pouring, are super helpful for anyone just starting out with mold-making or waterproofing. I also appreciate the tips on common mistakes and how to avoid them – it’s great advice for ensuring a successful project. This will definitely help both newbies and experienced users get the most out of liquid rubber. Thanks for the informative post!
Thank you for your comments Mr Cool, it is appreciated
Rob